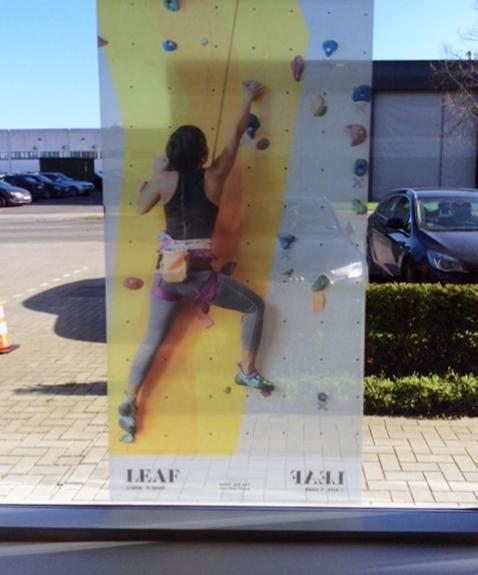
Instructions on how to apply window film and wall stickers.
1. General information about how to apply window and wall films
a. Shipment
- Do NOT accept severely damaged packages. If you do (your order was damaged during shipping), we will not be able to give you a new replacement product, free of charge. Refuse to accept the shipment and make the delivery company mark the shipment as damaged. This will allow us to directly ship you a new product.
b. Storage
- After you have received your shipment unroll the material as soon as possible. Store the film flat until use. Do NOT store the material in the box until use. Unroll, store your films flat. Store at room temperature, 15 to 18 degrees C, in a low humidity environment. Out of direct sunlight, not near a radiator/heat-source.
- Always keep your film flat, so that is does not bend/fold and create unwanted creases and blemishes.
- Apply the vinyls/films within a couple of days.
c. Work environment
- Make sure to not apply films in direct sunlight, make sure the temperature of the film, the window/surface itself and the surrounding air is around 15 to 18 degrees Celsius. When the temperature is above 18 degrees we advise you to apply the window film during the early mornings or after sundown, when the temperature is below 18 degrees C. Turn radiators that are near the window/mounting-surface off, 24 hours in advance! The higher the temperature (above 18 C) to more difficult the installation process. Similarly below the 15 degrees Celsius, installation becomes more difficult.
- Extensively clean the window/surface, the window-frame/floor/ceiling, your hands and the surrounding area, including you work environment. Clean it of durst, dirt, paint, grease, silicone, etc.. Use a window scraper to thoroughly clean the glass. Also, make sure that you remove any cleaning liquids, solvents and other chemicals you used during the cleaning of the glass. Extensively wash the windows with just water after cleaning them.
- Lock up your pets! Beware of moving/flying insects, mosquitoes, flies, spiders, etc..
- Clean your hands and fingers before application.
- Watch out for your fingerprints on the window glass itself and on the back/adhesive of the window film.
d. Removing the backing paper
- The application tape is the white/yellowish/woody sticky paper on the front of the window/wall film. On the back of the window/wall film is the white backing paper (likely contains some grey texts/lines). Before removing the backing paper, card over the application tape on the front of the film, using the supplied squeegee, to better secure it to the vinyl itself. You can do this multiple times to increase the bonding between the two.
- Remove the backing paper very carefully/slowly as to not damage the vinyl. When the film contains cut-outs, be very careful when removing the backing paper, as to not tear the film itself, when parts remain stuck to the backing paper. Take your time, most mistakes occur here!
- If you ordered a non-rectangular design, it will be possible that your cut-to-shape design has a border around the design. This serves 2 purposes. It keeps the application-tape/transfer-tape mounted during transport and also protects the film. And allows for easy horizontal/vertical positioning of the entire design. You can remove this border after application (do not card over it with the squeegee during application).
e. Applying the film
- Check if your surface already has a film attached. If the window/glass/mounting surface already contains a (safety, UV, sun, etc.) film (i.e., your are not applying your window film to a glass surface), you may want to use water during the application of your film(s).
- Do you have multiple films? Start with the smallest film/vinyl and end with the biggest film.
- Always use the film itself, not the application tape on top of the vinyl/film, to position your design.
- Use the longest side of the film to position your design.
- Use 2 or more people. One holding the top/left of the film and one holding the bottom/right to position the window film correctly. During application one holds the film a couple of centimetres above the surface, while the other person cards with the squeegee, starting in the centre of the film.
- Do not use force when using the freely supplied felt squeegee, especially with large air-bubbles. First use your dumb to gently remove the air bubble. You can always use a pinprick to let air escape.
- Does your design contain small elements. Use your fingers to press on those elements to additionally activate the self-adhesive, after application.
f. After application of the film
- If after application you have a problem area. Gently heat the problem area with a heatgun or infrared heater to activate the “self-healing” properties of the film. Subsequently, use your thumb to gently rub over these areas.
- If you have little blemishes in your film after application. Gently heat the film to activate the self healing properties of the film. Use a heatgun to gently warm the problem area and rub over the area with your thumb. Repeat multiple times, if necessary.
g. Cleaning the film
- After you have applied the film. Let it rest for at least 2 weeks. Clean the film with a sponge or soft cloth with a non aggressive cleaning product (handwash, carwash, etc.).
- Do NOT use any sharp or hard objects during cleaning or aggressive cleaning products or solvents.
2. Specific information
a. How to apply your unique window film?
- (1) Instructions on how to apply frosted window film cut, go HERE.
- (2) Instructions on how to apply printed window film, go HERE.
- (3) Instructions on how to apply printed transparent window film, go HERE.
- (4) Instructions on how to apply printed window cling, go HERE.
- (5) Instructions on how to apply window decals HERE.
- (6) Instructions on how to apply window stickers HERE.
- (7) Instructions on how to apply one-way vision window film HERE.
- (8) Instructions on how to apply/install two-way vision window film (i.e., perforated frosted window film) HERE.
- (9) Instructions on how to apply/install your reflective solar window film HERE.
- (10) Instructions on how to apply/install your frosted window film HERE.
For a quick additional overview relating to how to apply window film, go HERE.
b. How to apply your bespoke wall sticker?
For instructions on how to apply wall stickers, go HERE.
c. How to apply your custom floor stickers?
For instructions on how to apply floor stickers (floor graphics, floor films, floor vinyls), go HERE.
Photos of Window, Wall and Floor Stickers
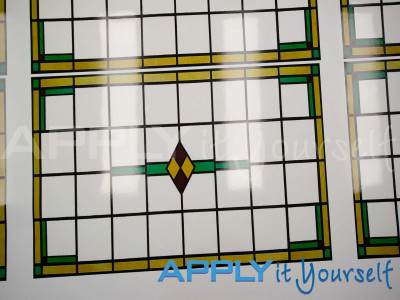
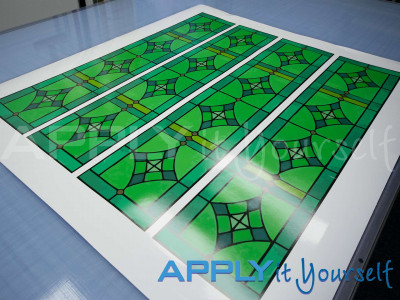
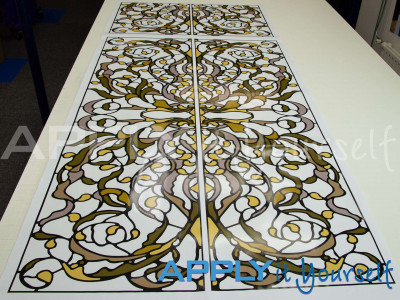
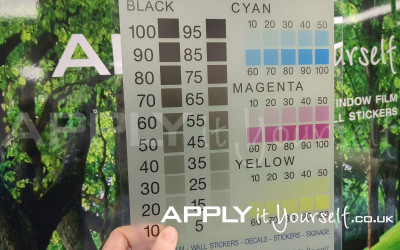
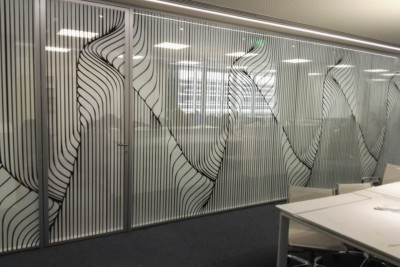
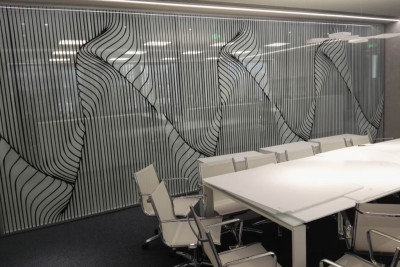
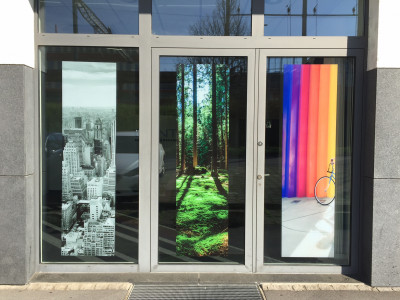
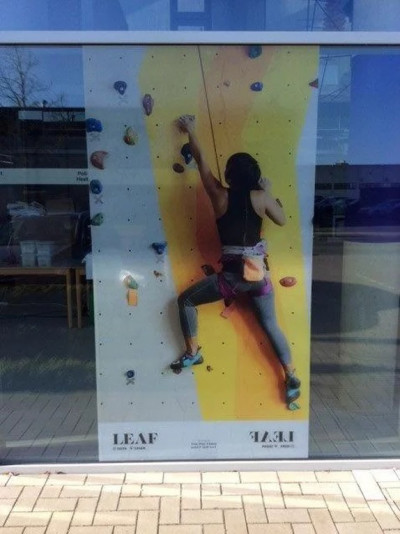
Below you will find a number of photos of the different type of window, wall and floor films make have made for our customers.

