How to apply Printed Frosted Window Film – How to?
On this webpage we will tell you how to apply your custom/bespoke printed frosted window film. Follow the written instructions and view our instructional video(s). Design it yourself. Apply it yourself.
Always read our extensive general information first. You will find it here.
Custom frosted window film with print, cut-to-size, cut-to-shape. Design your own personalised frosted window film with print quick and easy with our online designer. And/or upload your own designs. You will find it here.
Apply it Yourself. Custom Printed Frosted Window Film
Your printed frosted window film will arrive in a sturdy box (pre assembled) with a squeegee (free of charge). Ready for you to apply the frosted window film with print to your window(s). No water is required during the application of the bubble free frosted window film.
Some quick tips.
- Make sure to not apply your bespoke printed window film in direct sunlight, make sure the temperature of the film itself, the window itself and the surrounding air is -ideally- around 12 to 18 degrees Celsius. The higher the temperature (above > 18 C) the more difficult it is to apply the window film!
- Use 2 or more people when applying your custom printed frosted window film. One holding the top/left of the film and one holding the bottom/right to position the window film correctly. Subsequently, during application one holds the film a couple of centimetres above the surface, while the other cards with the squeegee, starting in the centre of the frosted window film.
- Extensively clean the window and the surrounding area, including you work environment. Clean it of grease, durst, dirt, flies, spiders, etc.. Watch out for your fingerprints on the window glass itself and the adhesive of the film.
How to apply printed frosted window film (bubble-free)?
Below you find instructions on how to apply you own unique printed frosted window film. You have been supplied with bubble free frosted window film with print. So you do not need to use any water, if you desire so. Very large films are WET APPLY only (this will be specified during your email conversation with us).
- Always keep your bespoke printed frosted window film flat, so that is does not bend/fold.
- Clean the window and window frame thoroughly. Remove paint, grease and other dirt. If any is left behind, it will always be visible!
- Also clean the surrounding area, like the window frame itself and your work environment. If you are applying near the ceiling and/or the ground make sure they are also clean. Also be wear of flying insects.
- Use the freely supplied squeegee and card over the application-tape / transfer-tape on the front of your bespoke printed frosted window film to further increase the binding between the two. Use a sturdy flat surface, like a table.
- Remove the backing paper. Carefully. When the film contains cut-outs, be very careful when removing the backing paper, as to not tear the film itself, when parts remain stuck to the backing paper. Take your time, most mistakes occur here!
- You are supplied with bubble free printed frosted window film. So no water is required.
- Apply the printed frosted window film with the application-tape to the window, position the frosted window film with print at the preferred location. Use to film itself to position your window film correctly (NOT the backing paper or application-tape).
- Use your supplied free squeegee. Start in the middle/centre of the window film and move horizontal/vertical with overlapping movements towards the edge of the film. During which you hold the printed frosted window film a couple centimetres (2 inches) above the window/mirror itself.
- Check to see if there is still any air trapped between the printed frosted window film and the window itself. In the rare occasion that air is still trapped between the window and the window film. Gently push the air bubble to the edge of the printed frosted window film (nearest part of the window not covered with window film). No need to use force. If you do not succeed without using force use a pinprick to burst the air bubble.
- Allow the adhesive enough time to stick to the window. So that removing the application tape does not lift the frosted film from the surface/window/mirror. Remove the application tape after a couple of hours, 6 to 12 hours should be enough.
- If, when removing the application tape, you lift the printed frosted window film from the window glass. Wait 24 to 48 hours before removing the application tape.
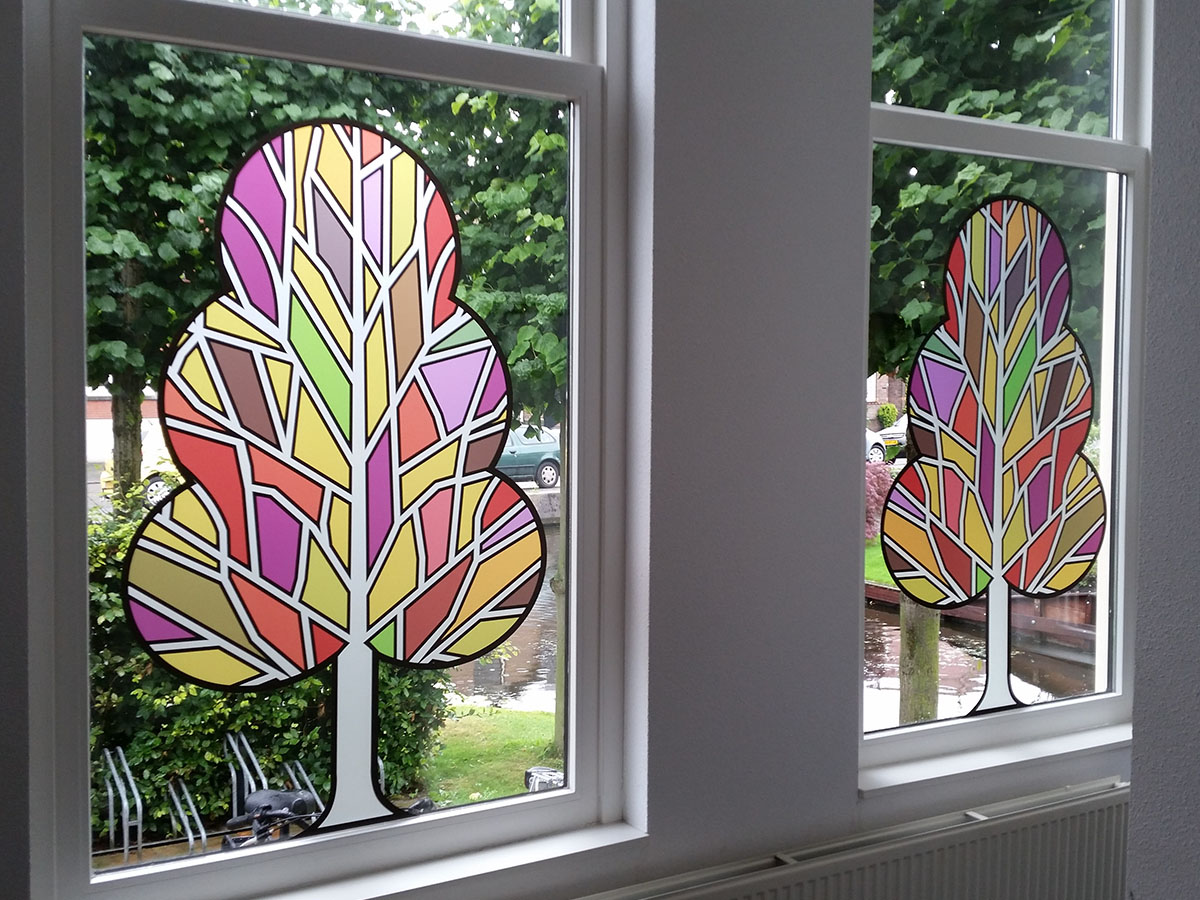
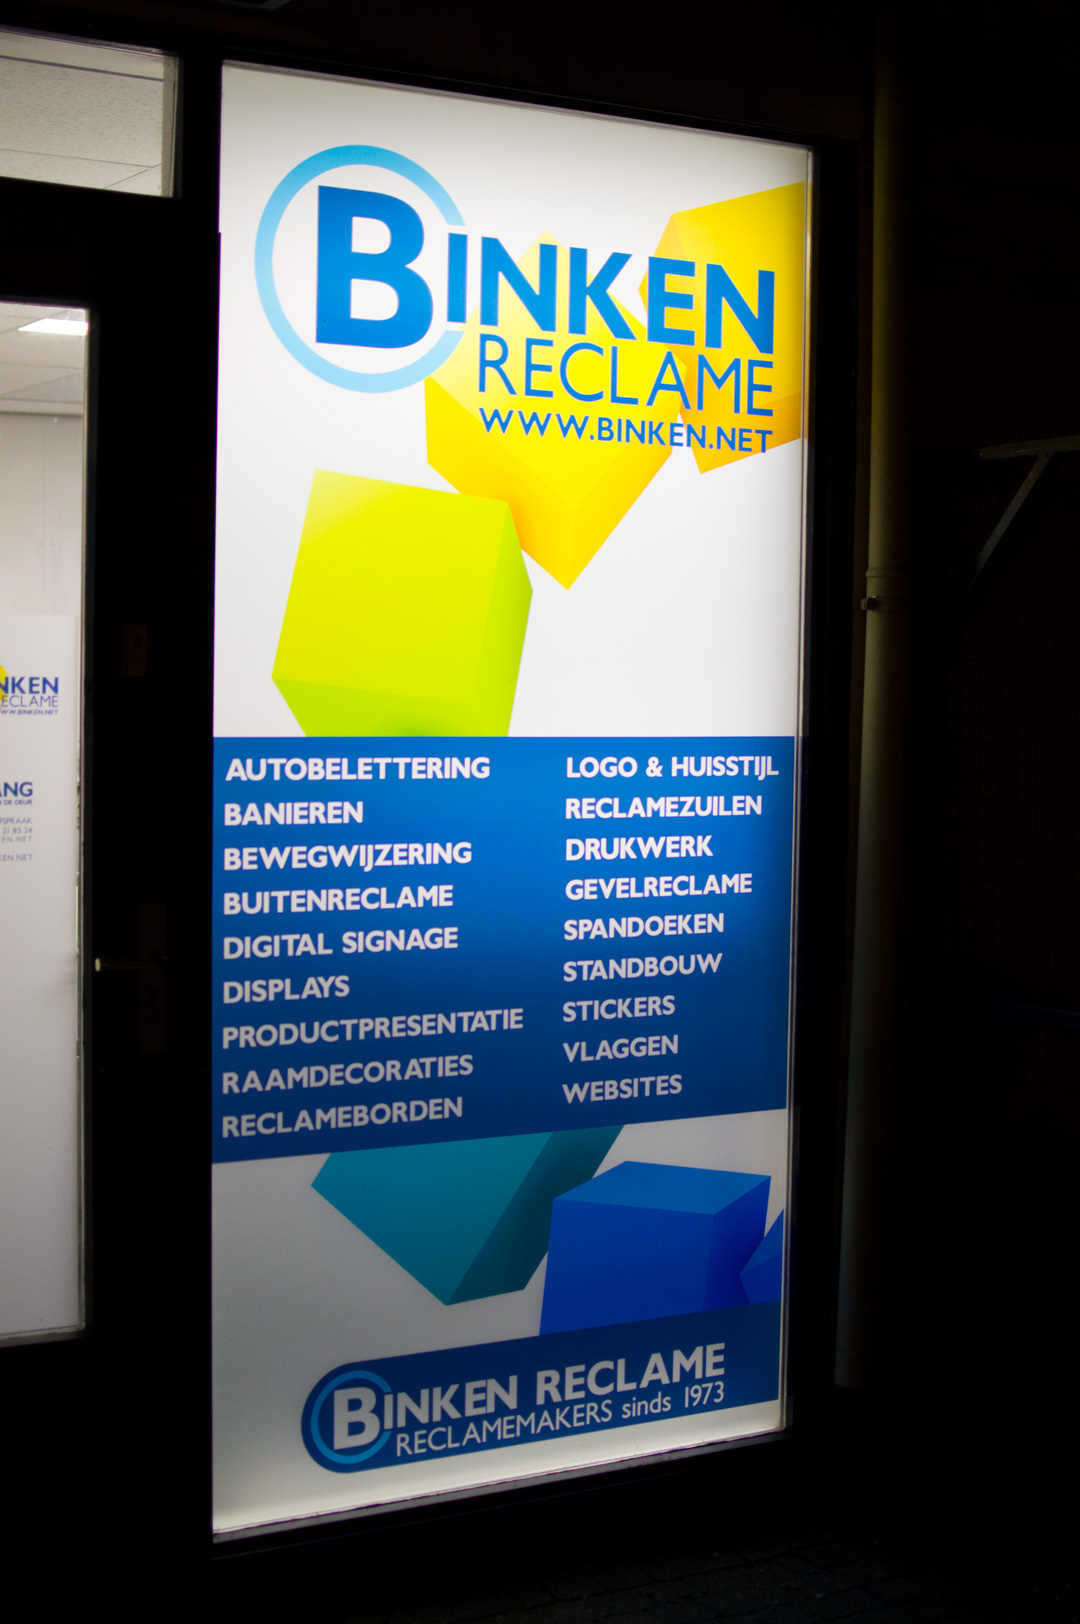
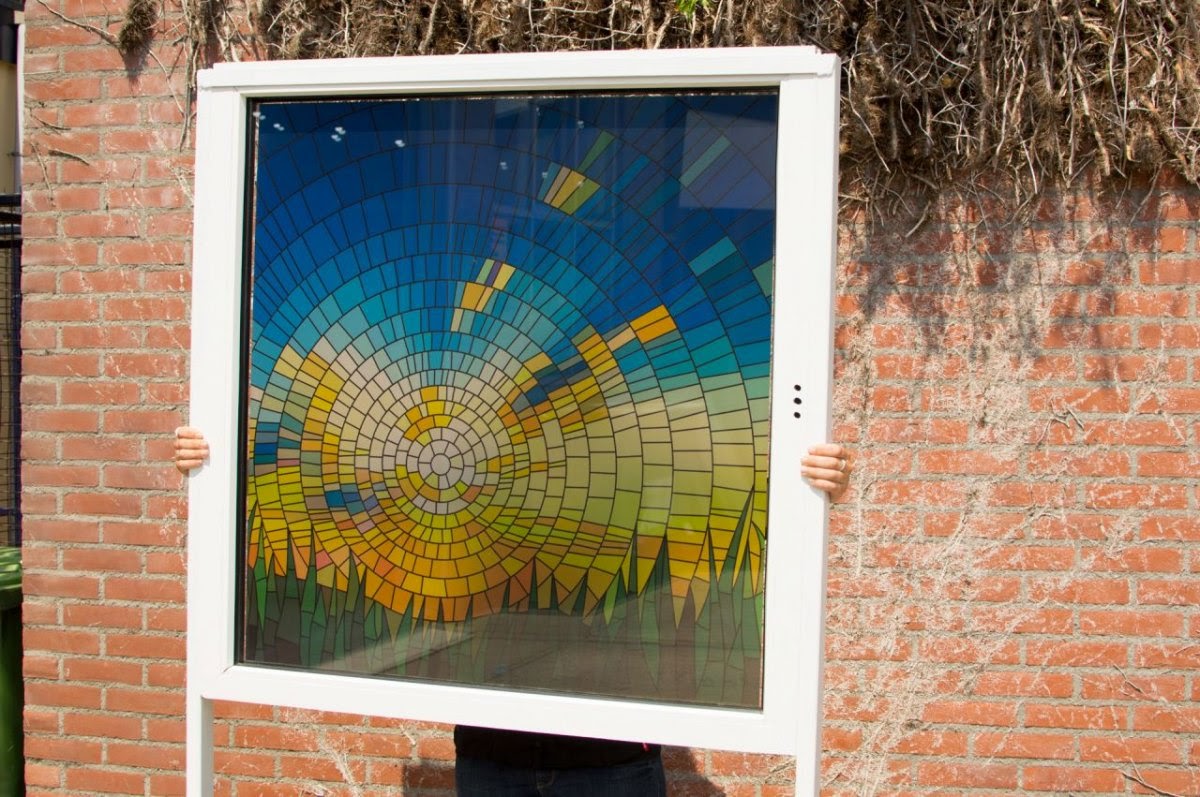
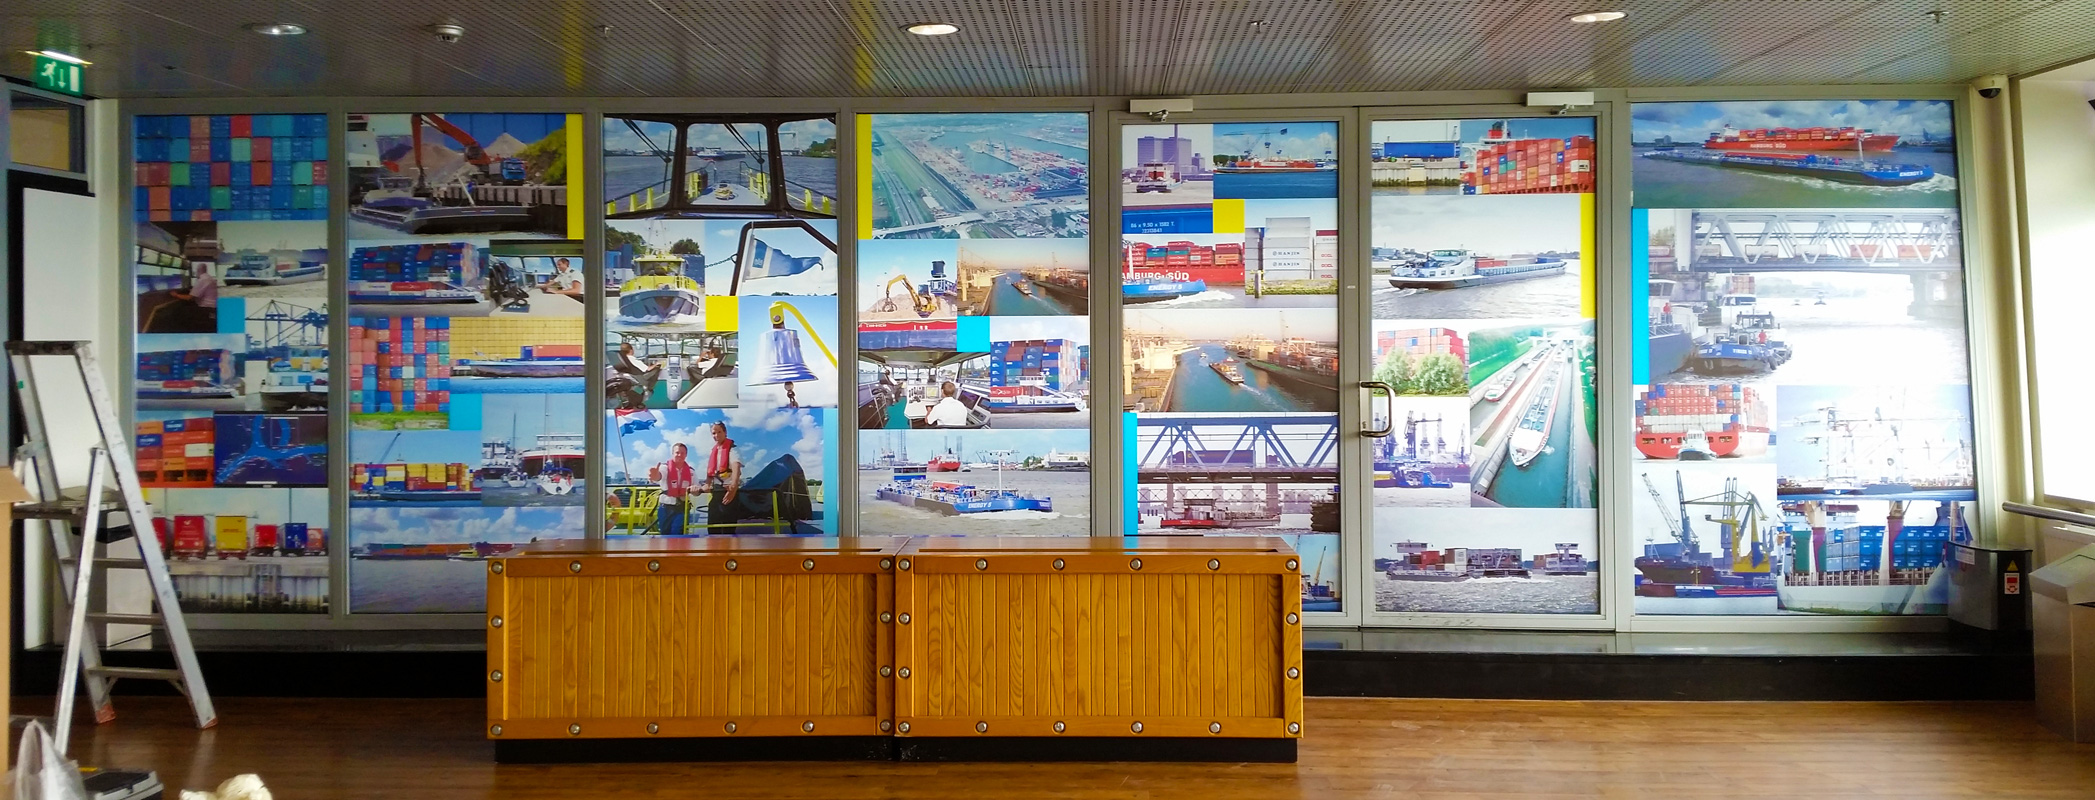
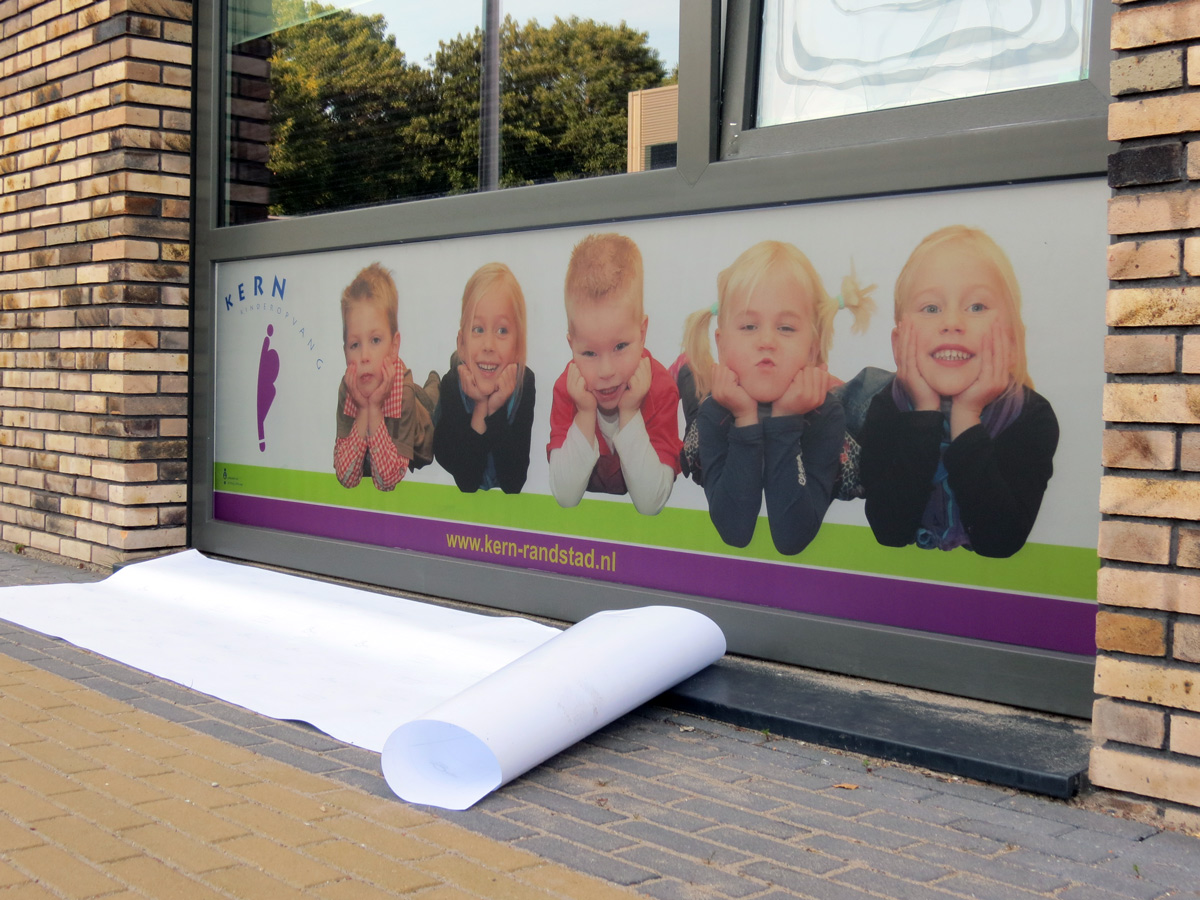
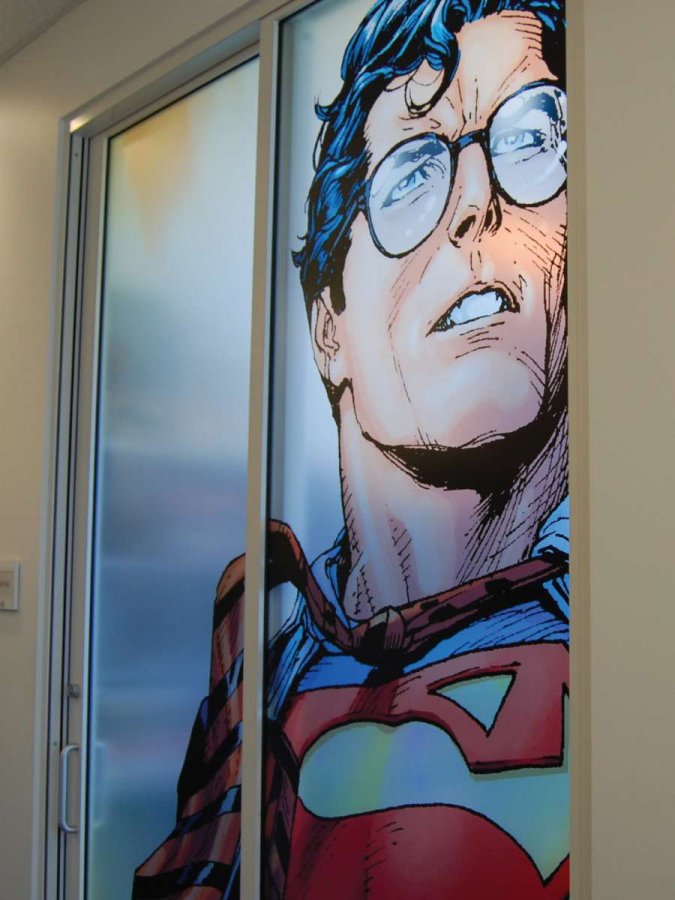
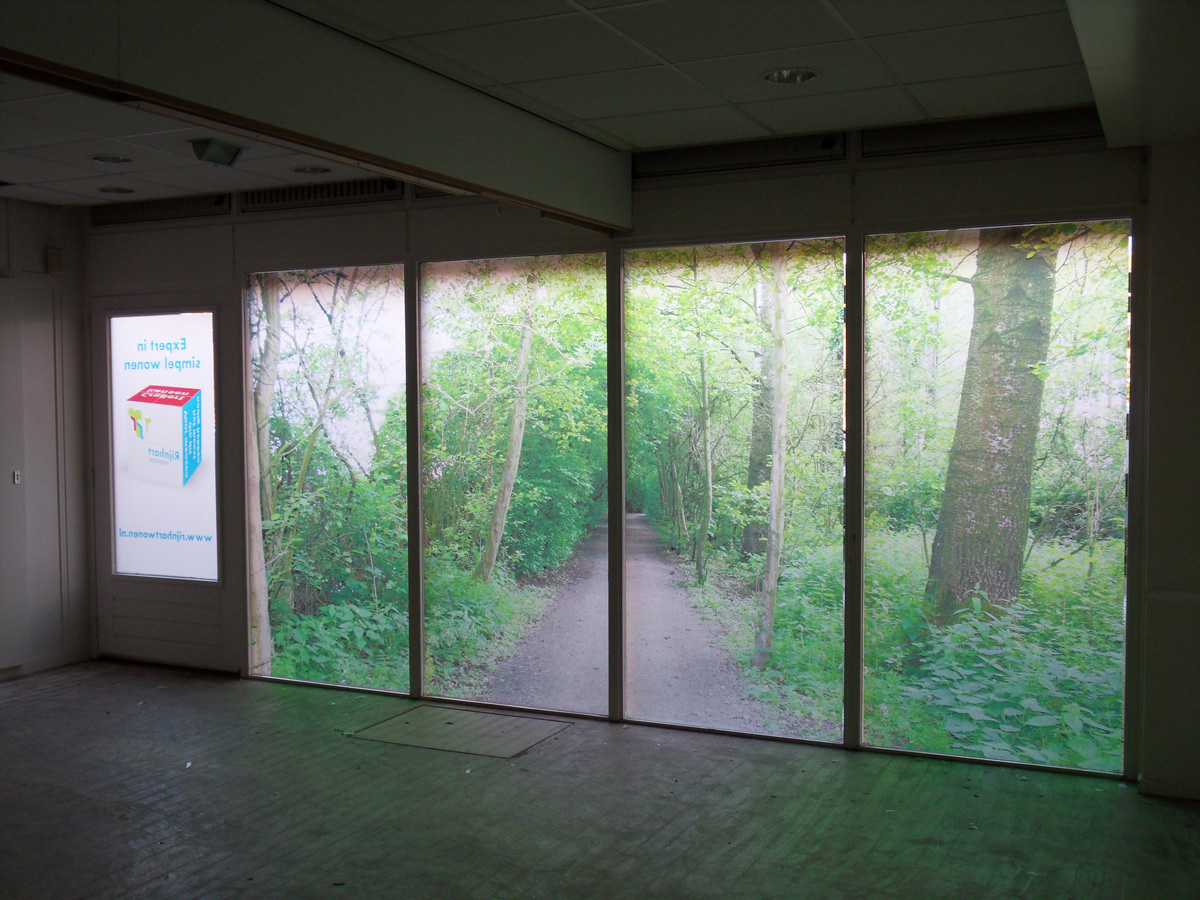
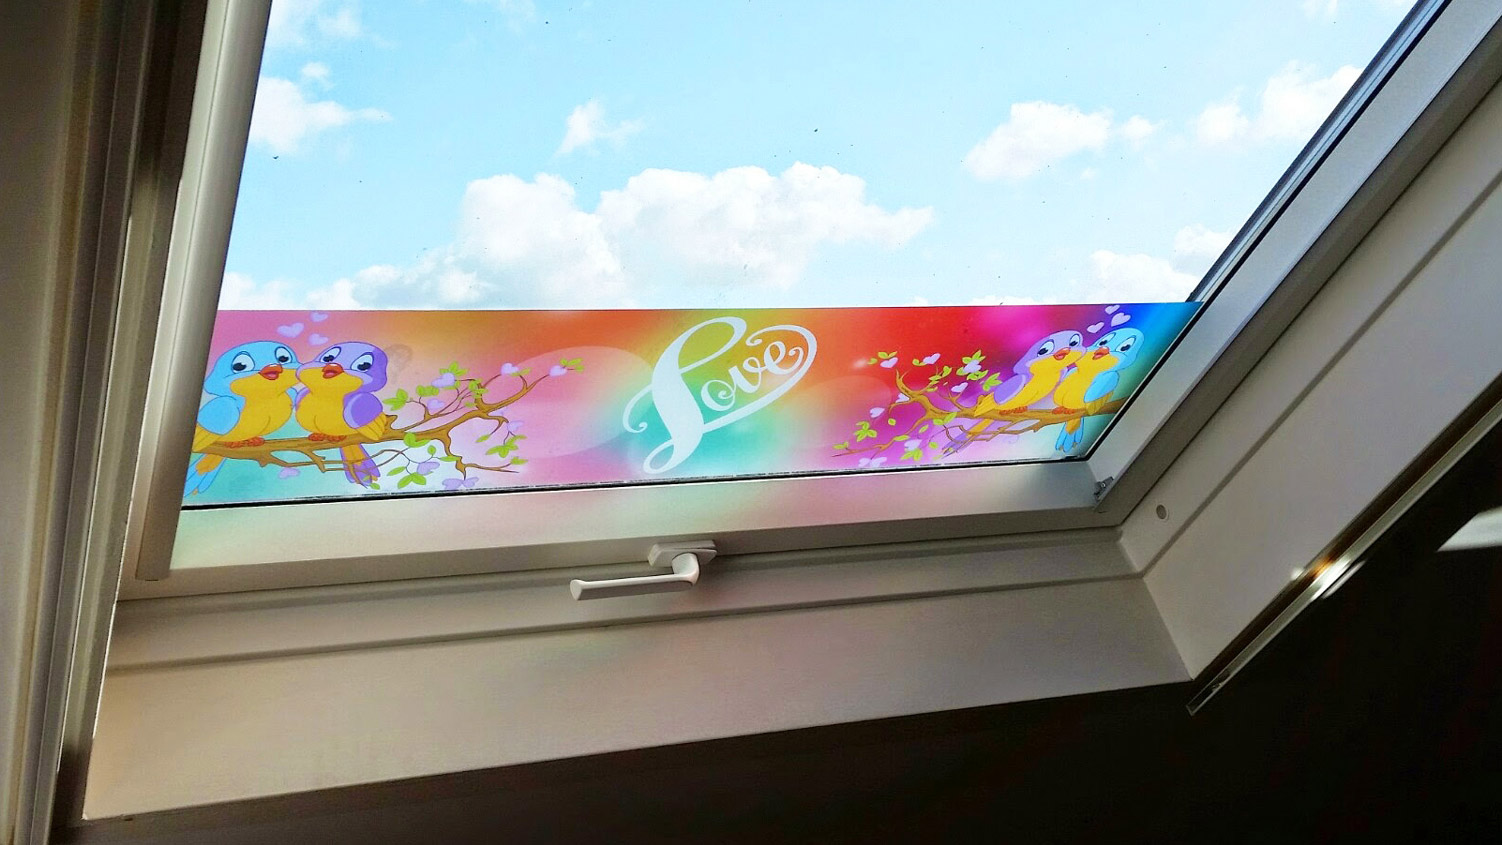
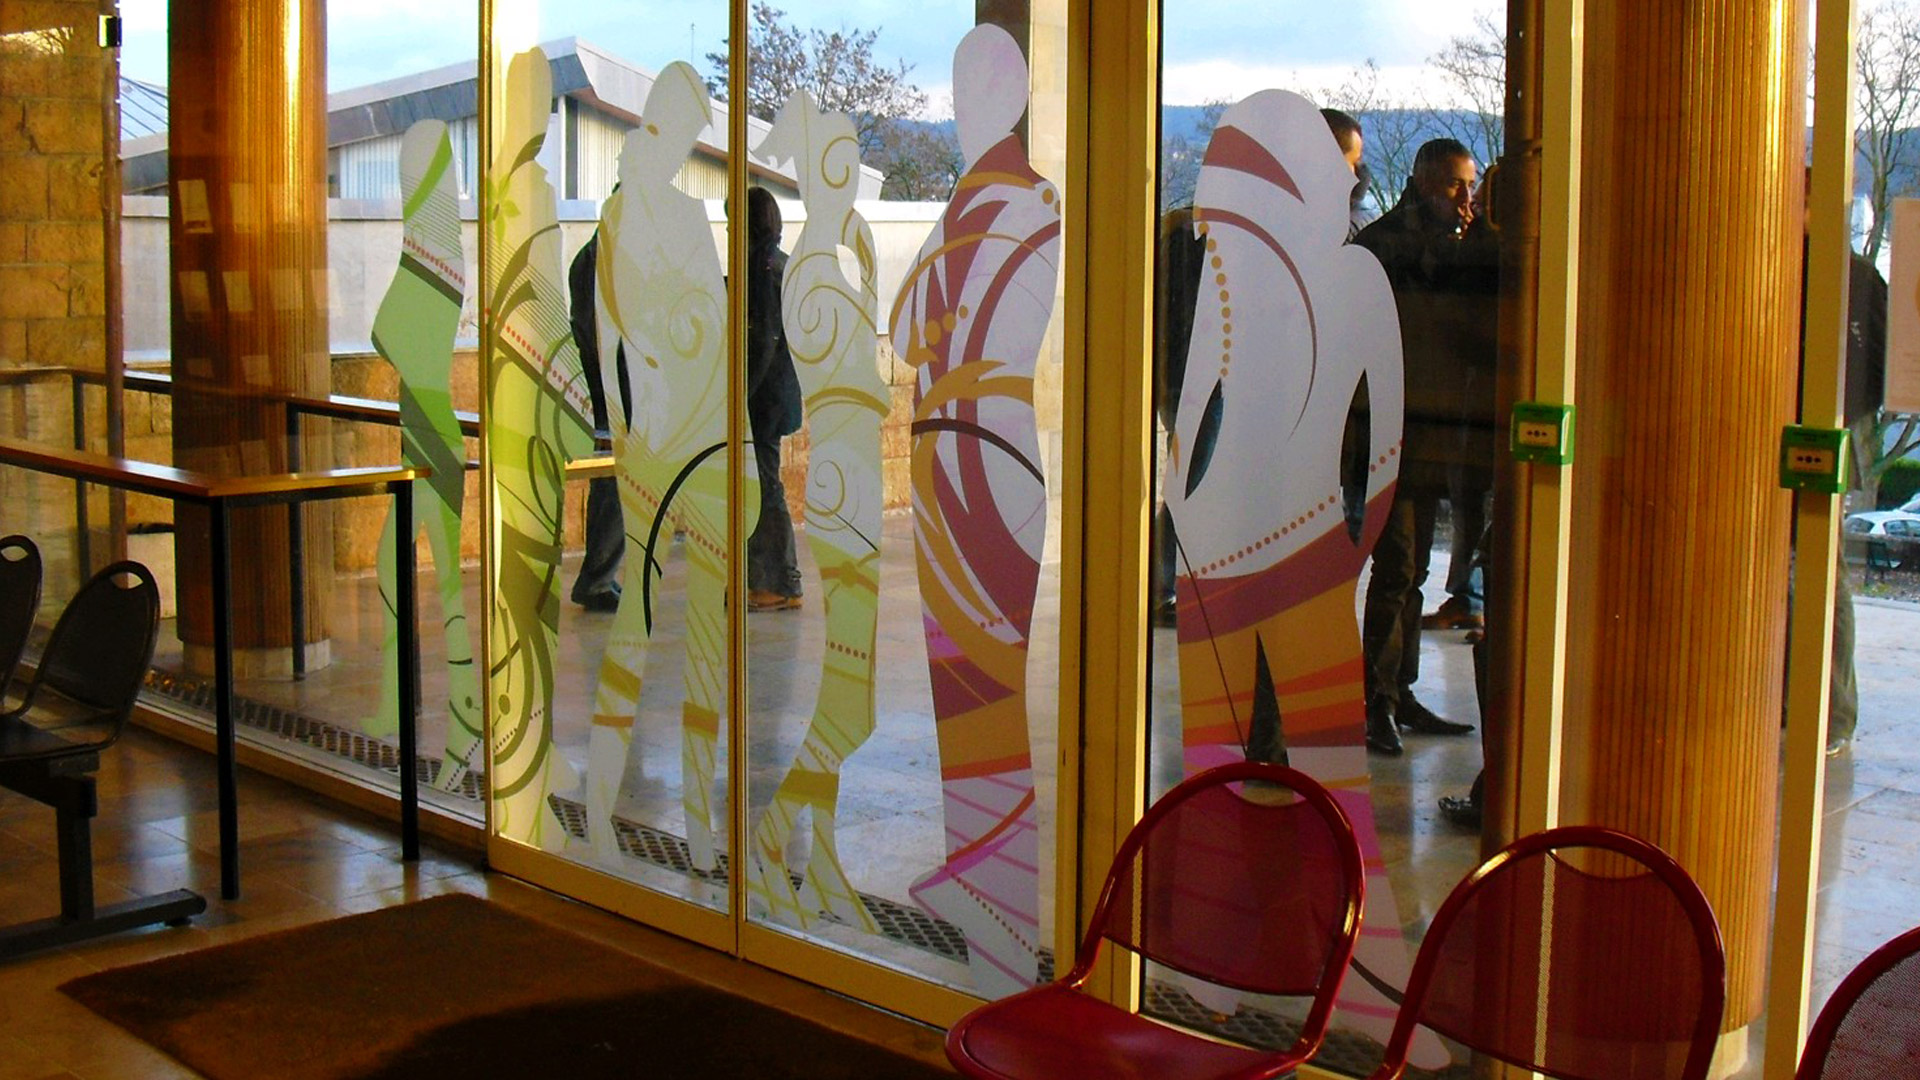
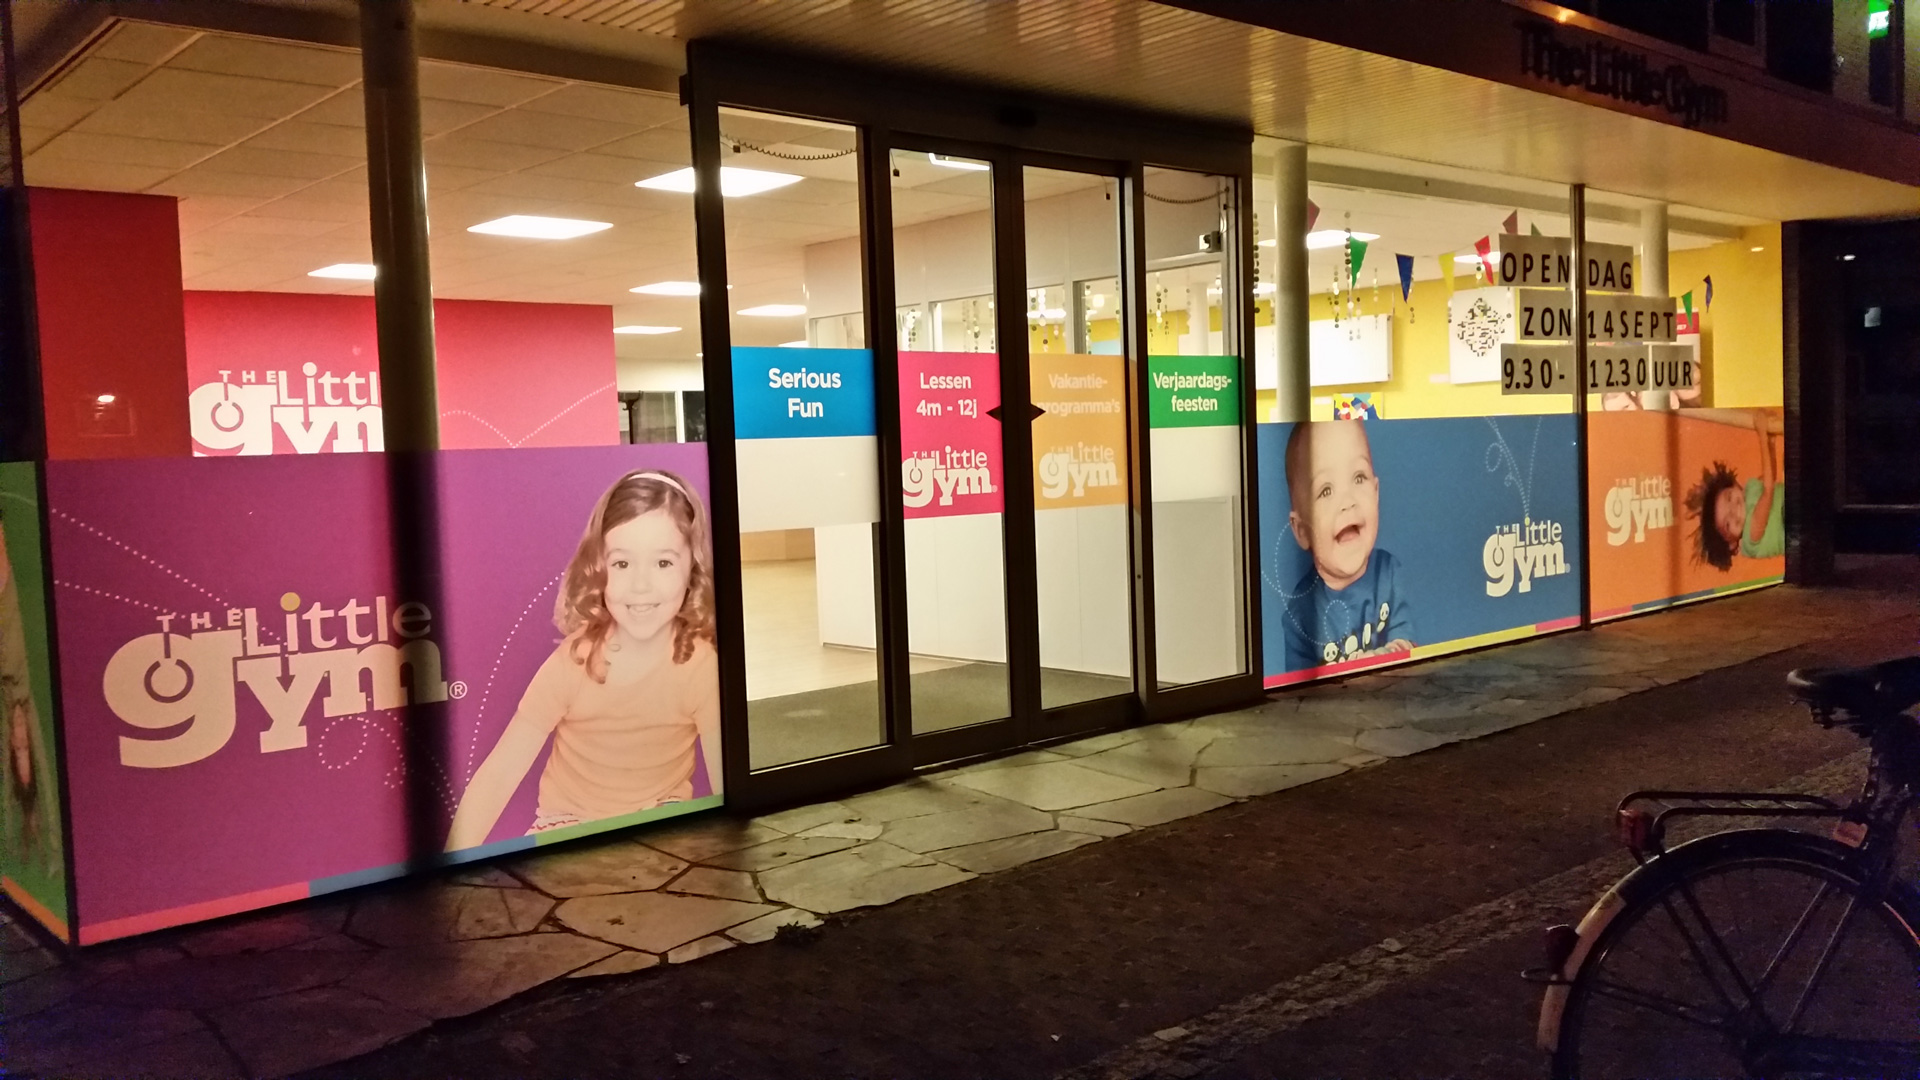
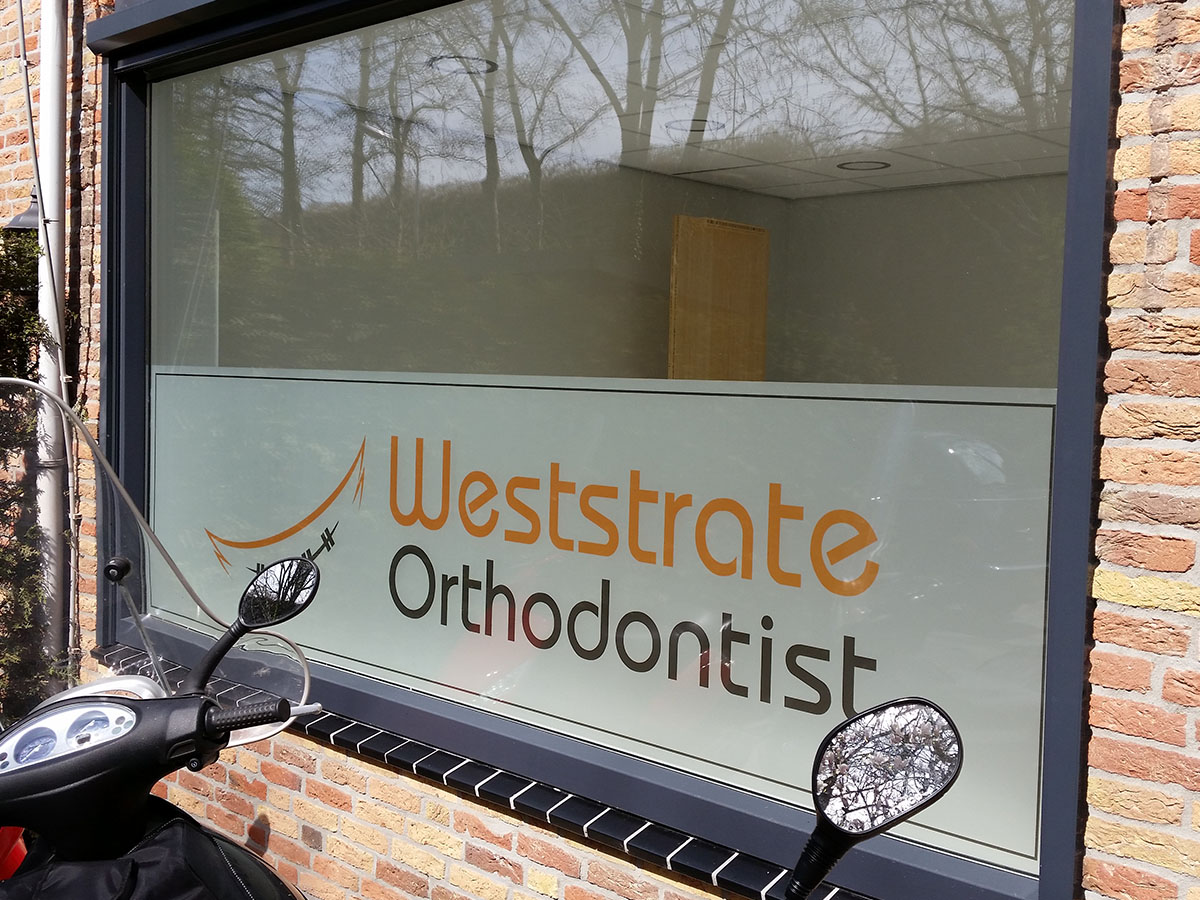
Examples of custom printed frosted window films
Below you will find a number of examples of printed frosted window films for both your personal and/or business needs. Frosted window films with print for offices. Personalised printed frosted window films for the front door with family name and house number. Nothing is impossible. Your imagination is the only limit.
Cut to shape, Cut to size. Any shape, any size. For cut-to-shape printed frosted window film designs, contact us directly by email.
You will find more examples of custom printed frosted window films here.


