How to apply wall stickers (B)?
On this page we will explain how you apply your own bespoke wall stickers to your wall/mounting-surface. See the installation instructions and installation instruction videos below.
Your custom wall stickers (B) will arrive in a sturdy box (pre-assembled with application-tape/transfer-tape already applied) and with a APPLYitYourself squeegee (free of charge). Ready for you to directly apply the custom wall sticker to your wall/mounting-surface.
Always, first read, our extensive general information first. You will find it HERE.
Below you find instructions on how to install the wall sticker yourself. For large wall stickers, use 2 or more people.
- Always keep your wall sticker flat. So the wall sticker does not bend/fold.
- Make sure to not apply bespoke wall stickers in direct sunlight, make sure the temperature of the wall sticker and the wall/mounting-surface itself and the surrounding air, is -ideally- around 12 to 18 degrees celsius. When the temperature is above 18 degrees we advise you to not install the wall custom. But wait for the temperature to drop.
- Clean the wall/mounting-surface thoroughly. Remove paint, grease and other dirt from the wall/mounting-surface. If any is left behind, it will always be visible!
- Also clean the surrounding area. If you are installing your custom wall sticker near the ceiling and/or the ground make sure they are also clean. Also be wear of flying insects. And pets!
- Use the freely supplied squeegee and card over the application-tape/transfer-tape on the front of your wall sticker to further increase the binding. Between the application-tape/transfer-tape and the wall sticker. Use a flat surface, like a sturdy table for this.
- Remove the backing paper. Carefully. When your wall film contains cut-outs/letters/elements, be very careful when removing the backing paper from your wall sticker, as to not tear the wall sticker itself, when parts of the film remain stuck to the backing paper. Take your time, most mistakes occur here!
- Apply the wall sticker with the application-tape/transfer-tape to the wall/mounting-surface, position the wall sticker at the preferred location. For large wall stickers, use 2 or more people.
- Use your supplied APPLYitYourself squeegee. Start in the middle/centre of the wall sticker and move horizontal with overlapping movements towards the edge of your bespoke sticker. During which you hold the wall sticker with the transfer-tape on top, a couple centimetres (2 inches) above the wall/mounting-surface.
- Check to see if there is still any air trapped between the sticker and the wall/mounting-surface itself. In the rare occasion that air is still trapped between the wall/mounting-surface and the wall sticker. Gently push the air bubble to the edge of the sticker (nearest part of the wall not covered with the wall sticker). No need to use force. If you do not succeed, use a pinprick to burst the air bubble.
- Allow the adhesive enough time to stick to the wall/mounting-surface. So that removing the application-tape/transfer-tape does not lift the wall film from the wall/mounting-surface. Remove the application-tape/transfer-tape after a couple of hours, 6 to 12 hours should be enough.
- If, when removing the application-tape/transfer-tape, you lift the wall sticker from the wall/mounting-surface. Wait 24 to 48 hours before removing the application-tape/transfer-tape. You may want to use your fingers to apply pressure on the small/delicate details of your custom wall stickers.
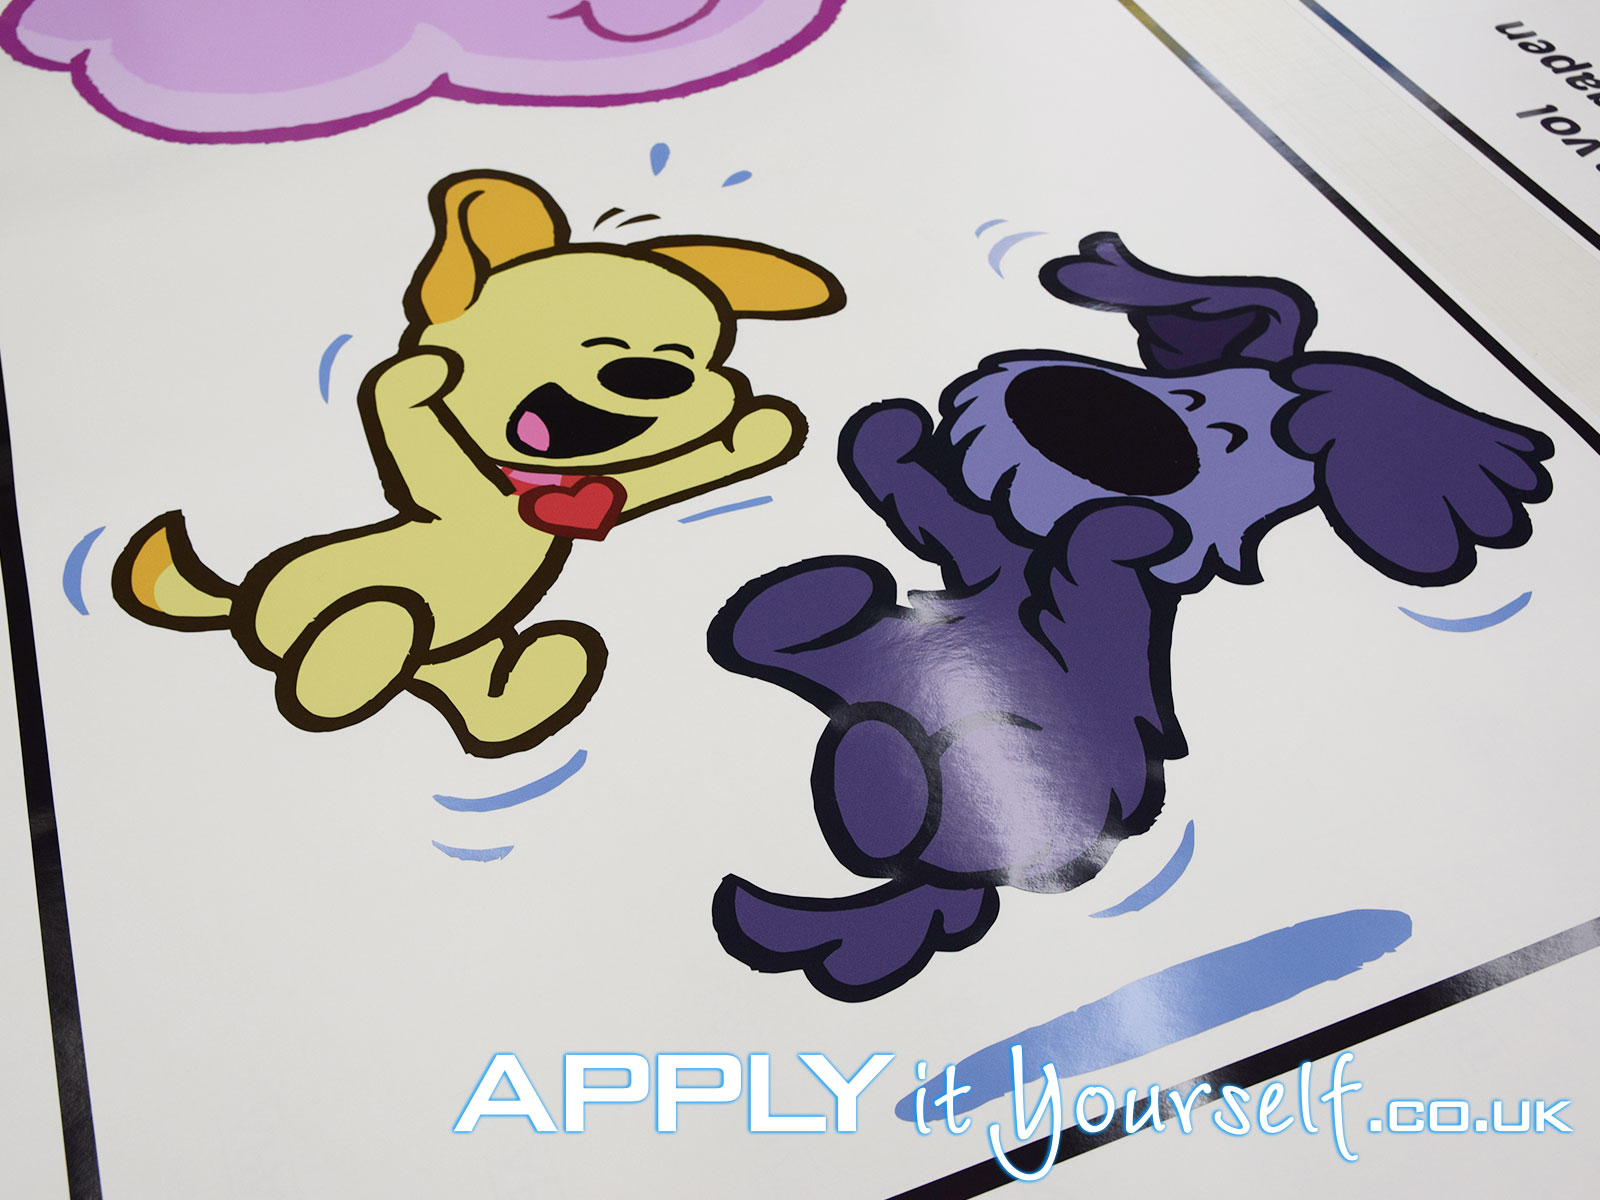
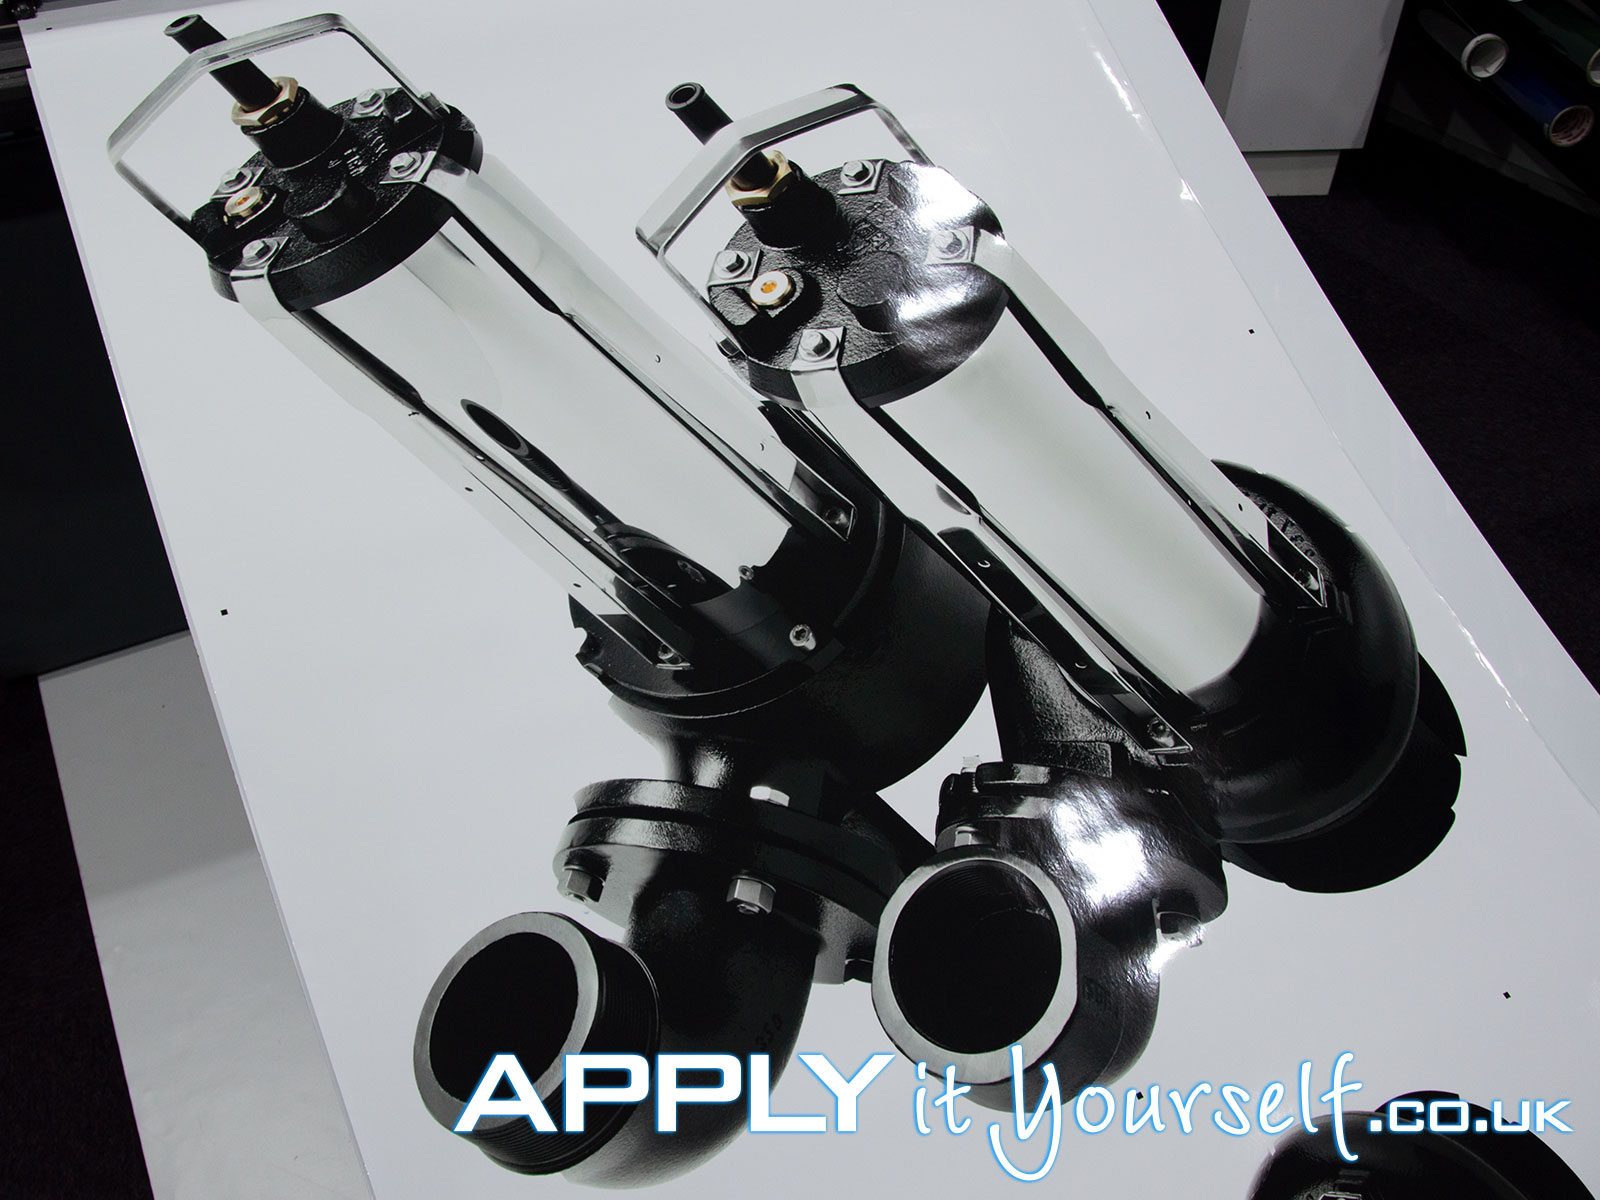
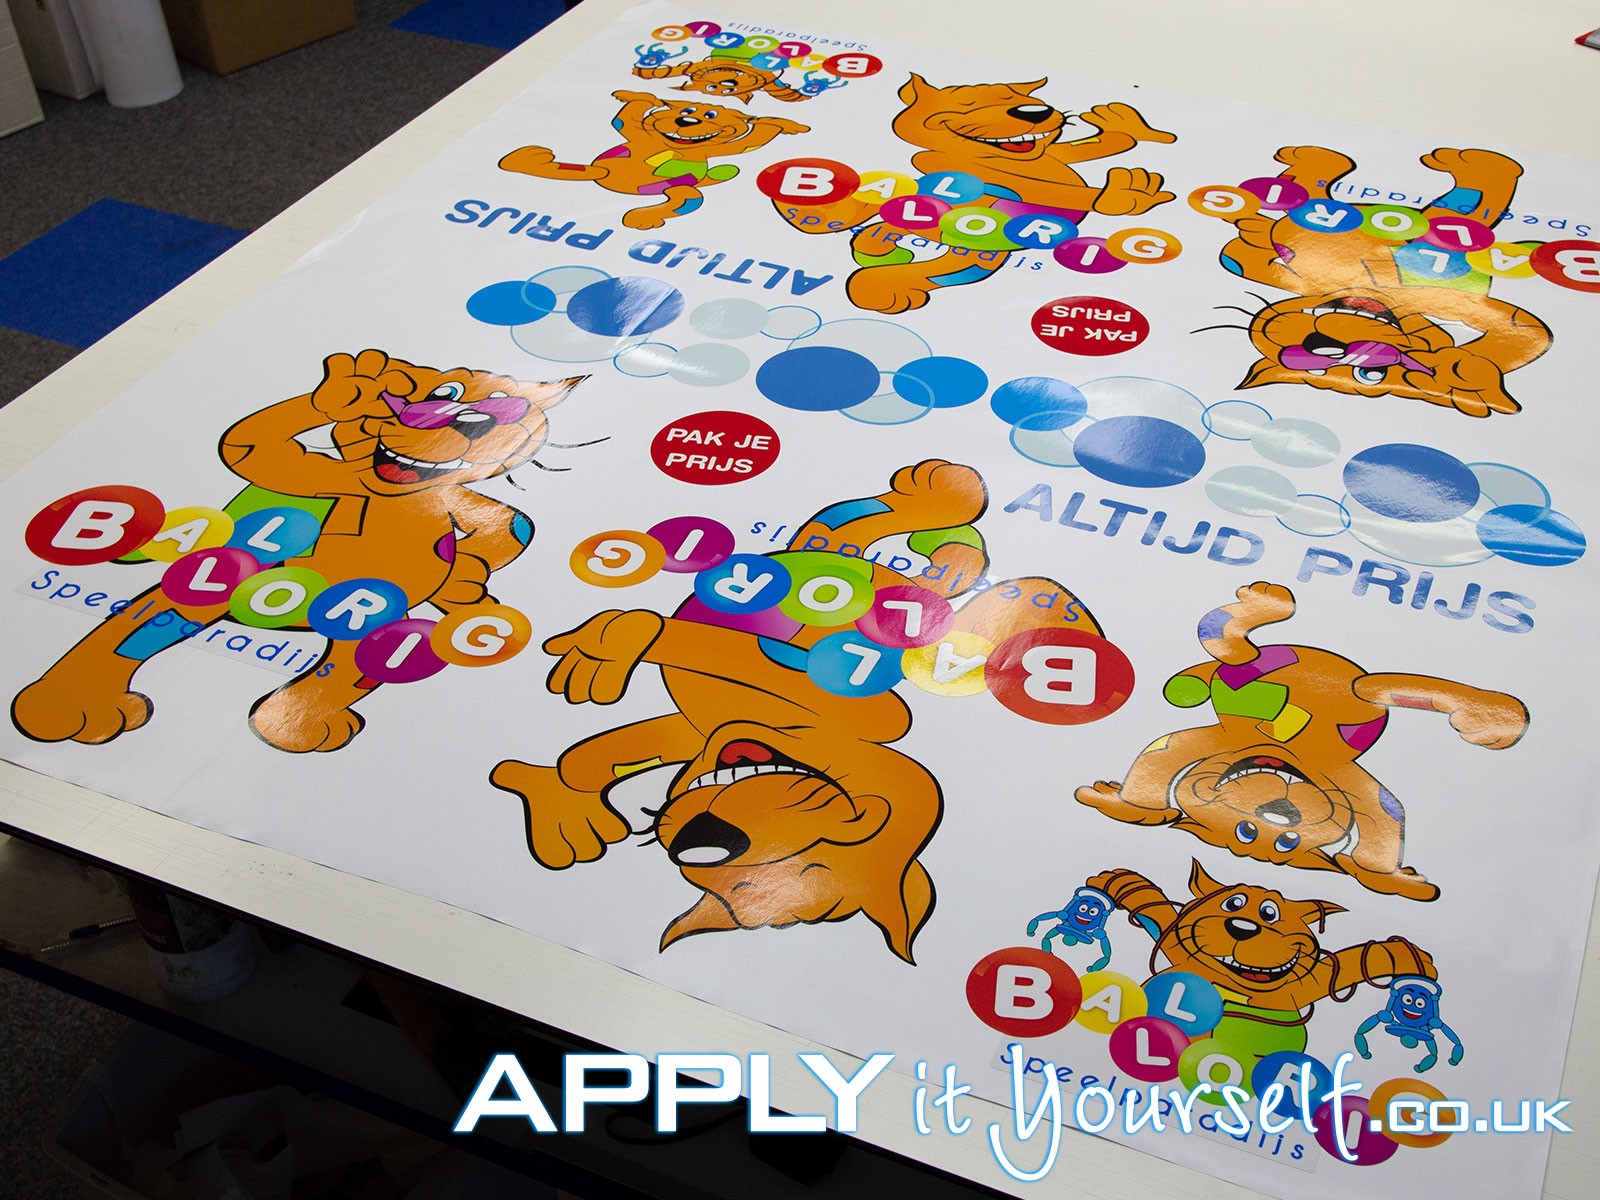
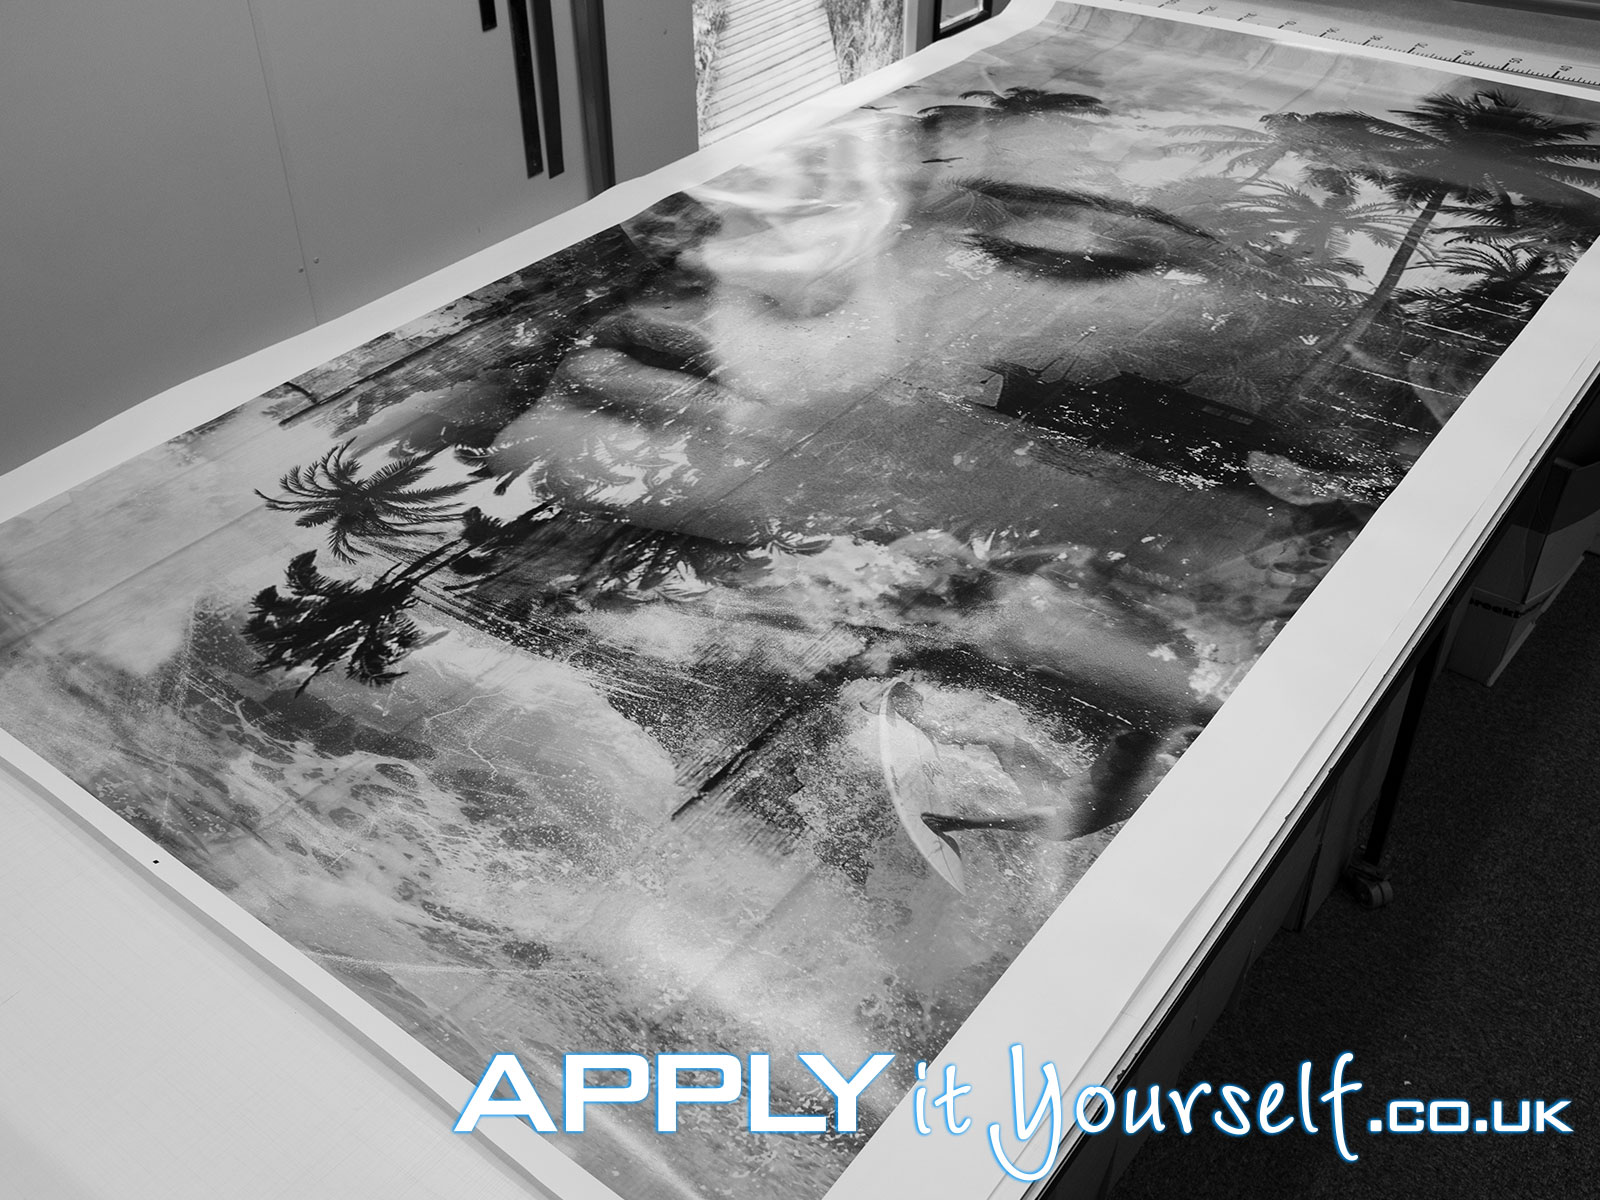
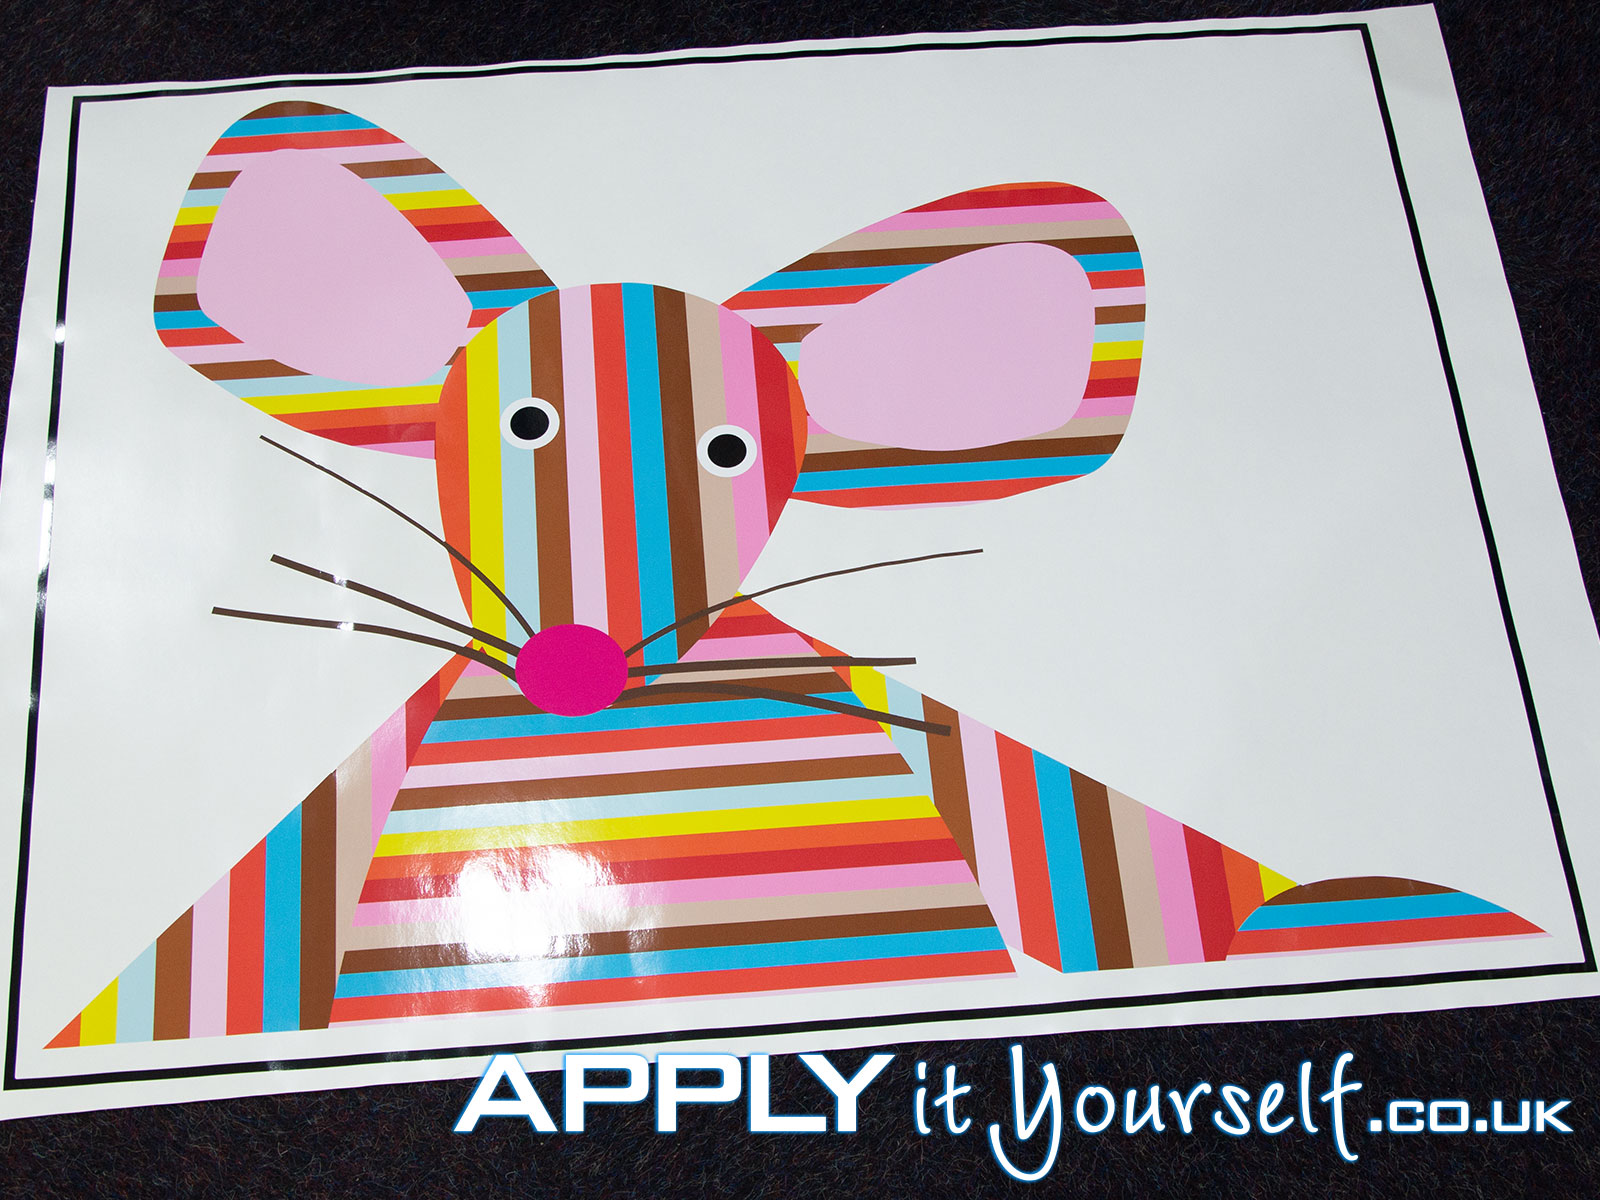
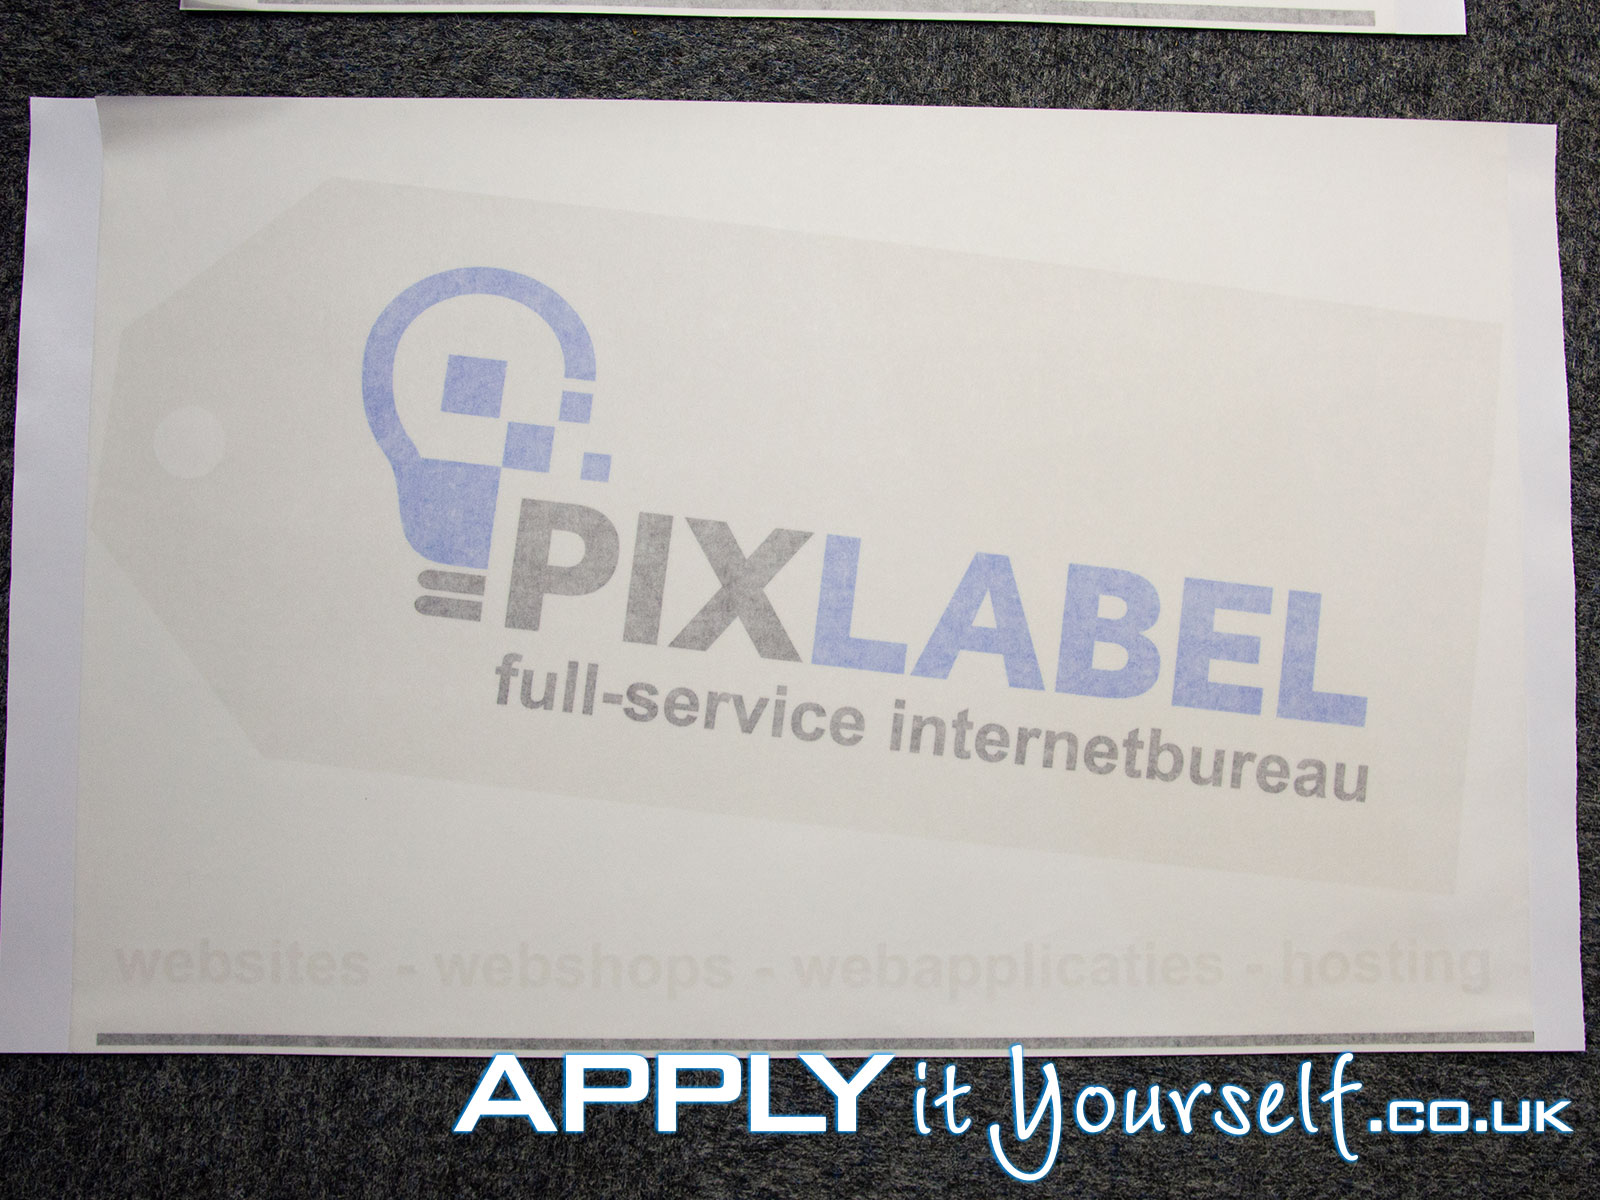
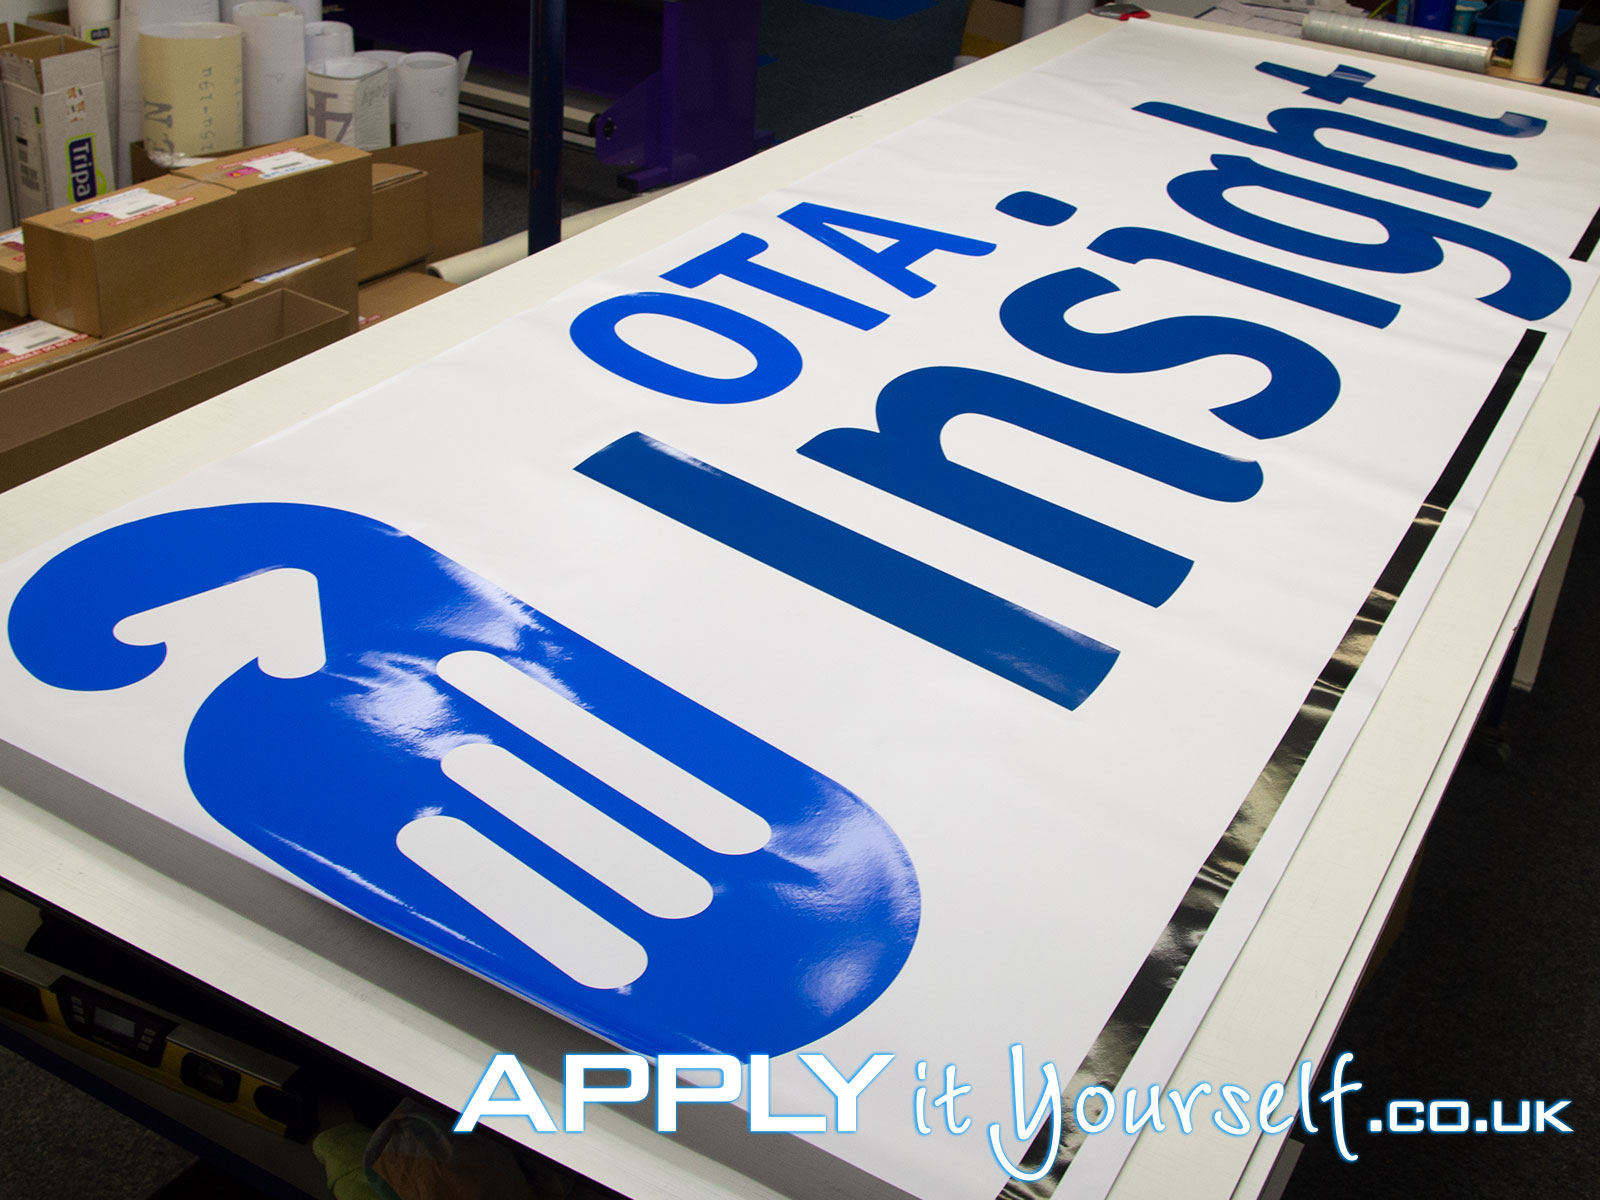
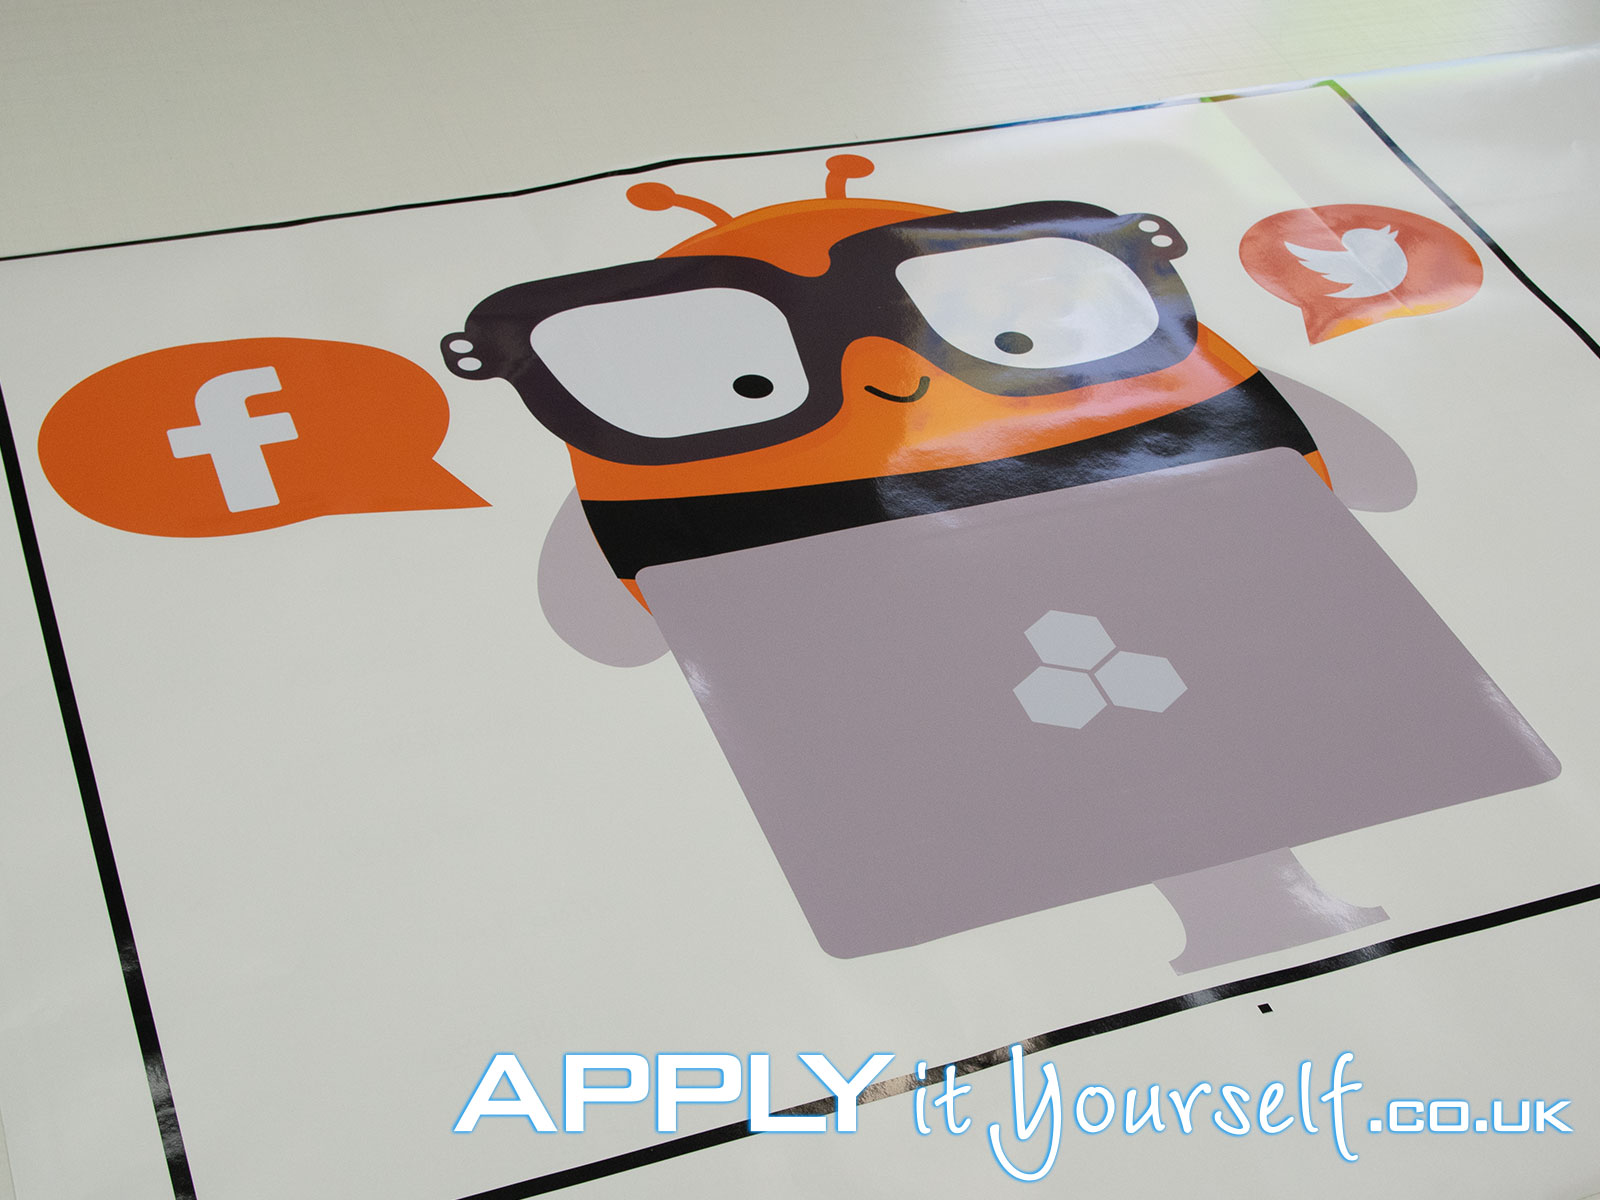
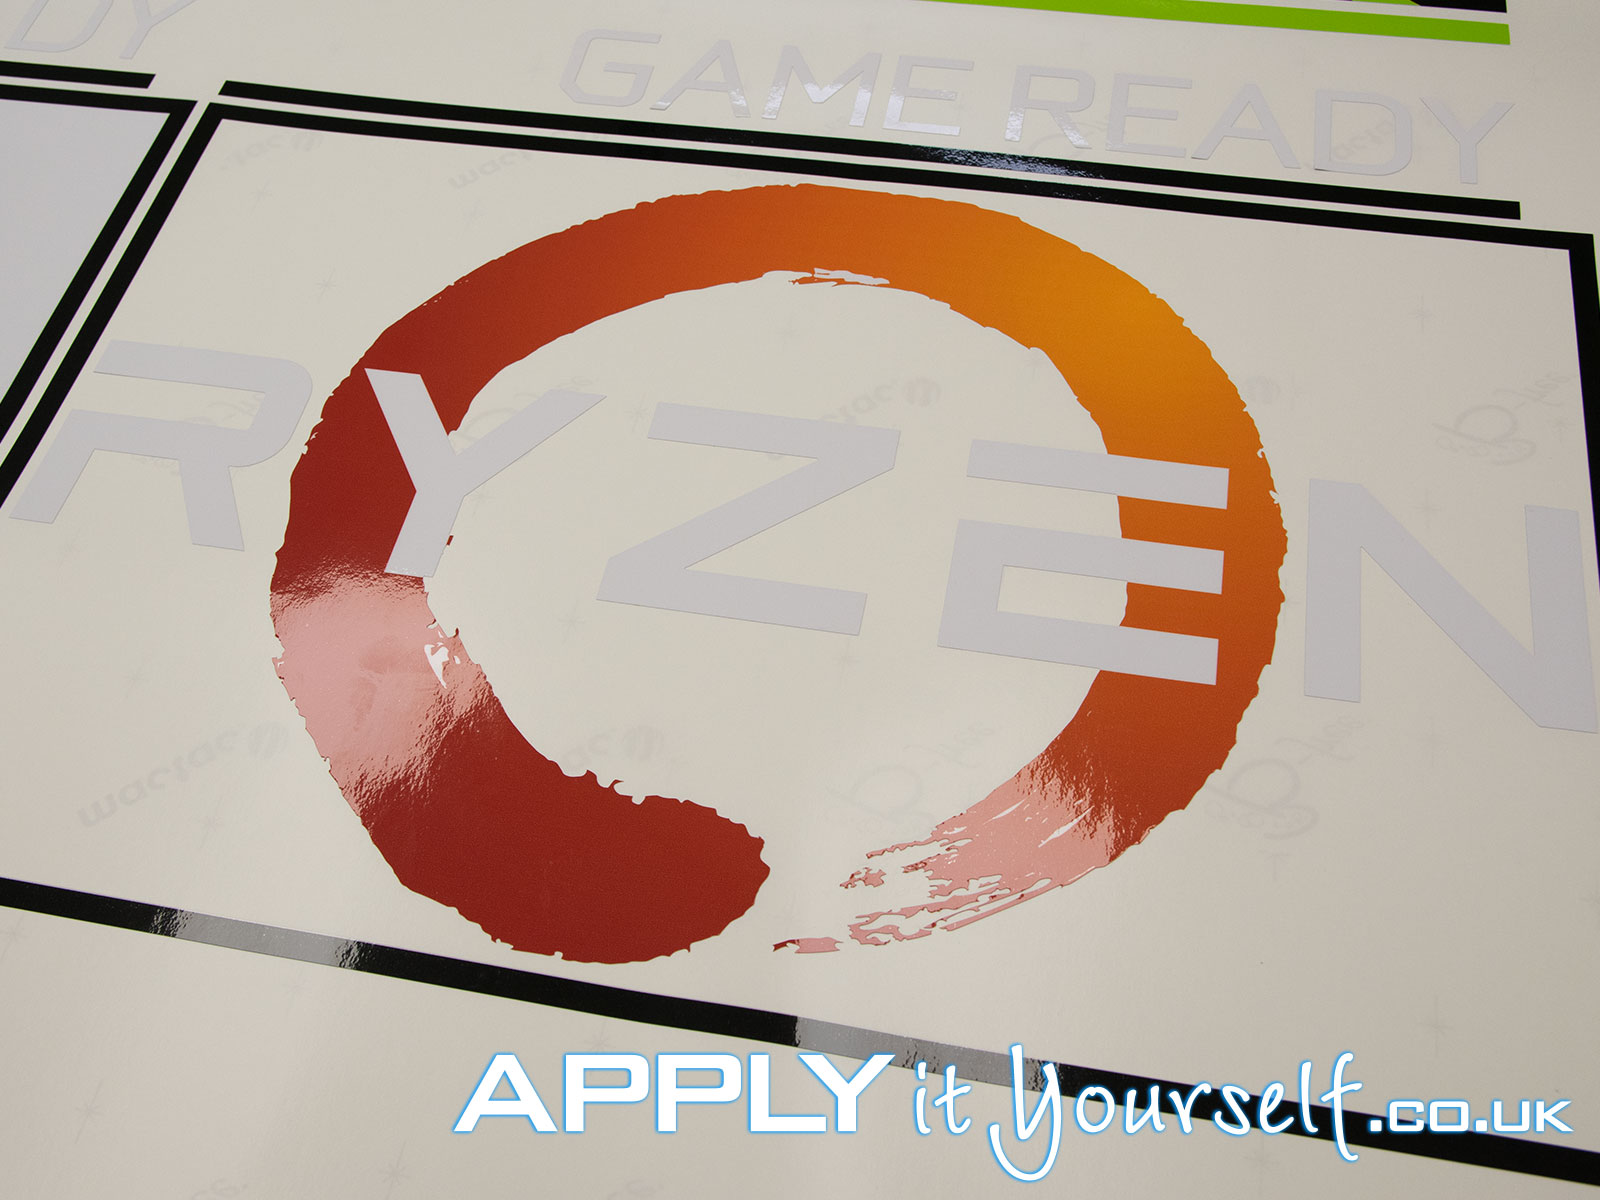
Photos of Bespoke Wall and Window Stickers
Below you see a number of photos of window and wall stickers. Of wall stickers with transfer tape/application/tape on top. And photos of wall stickers after application.