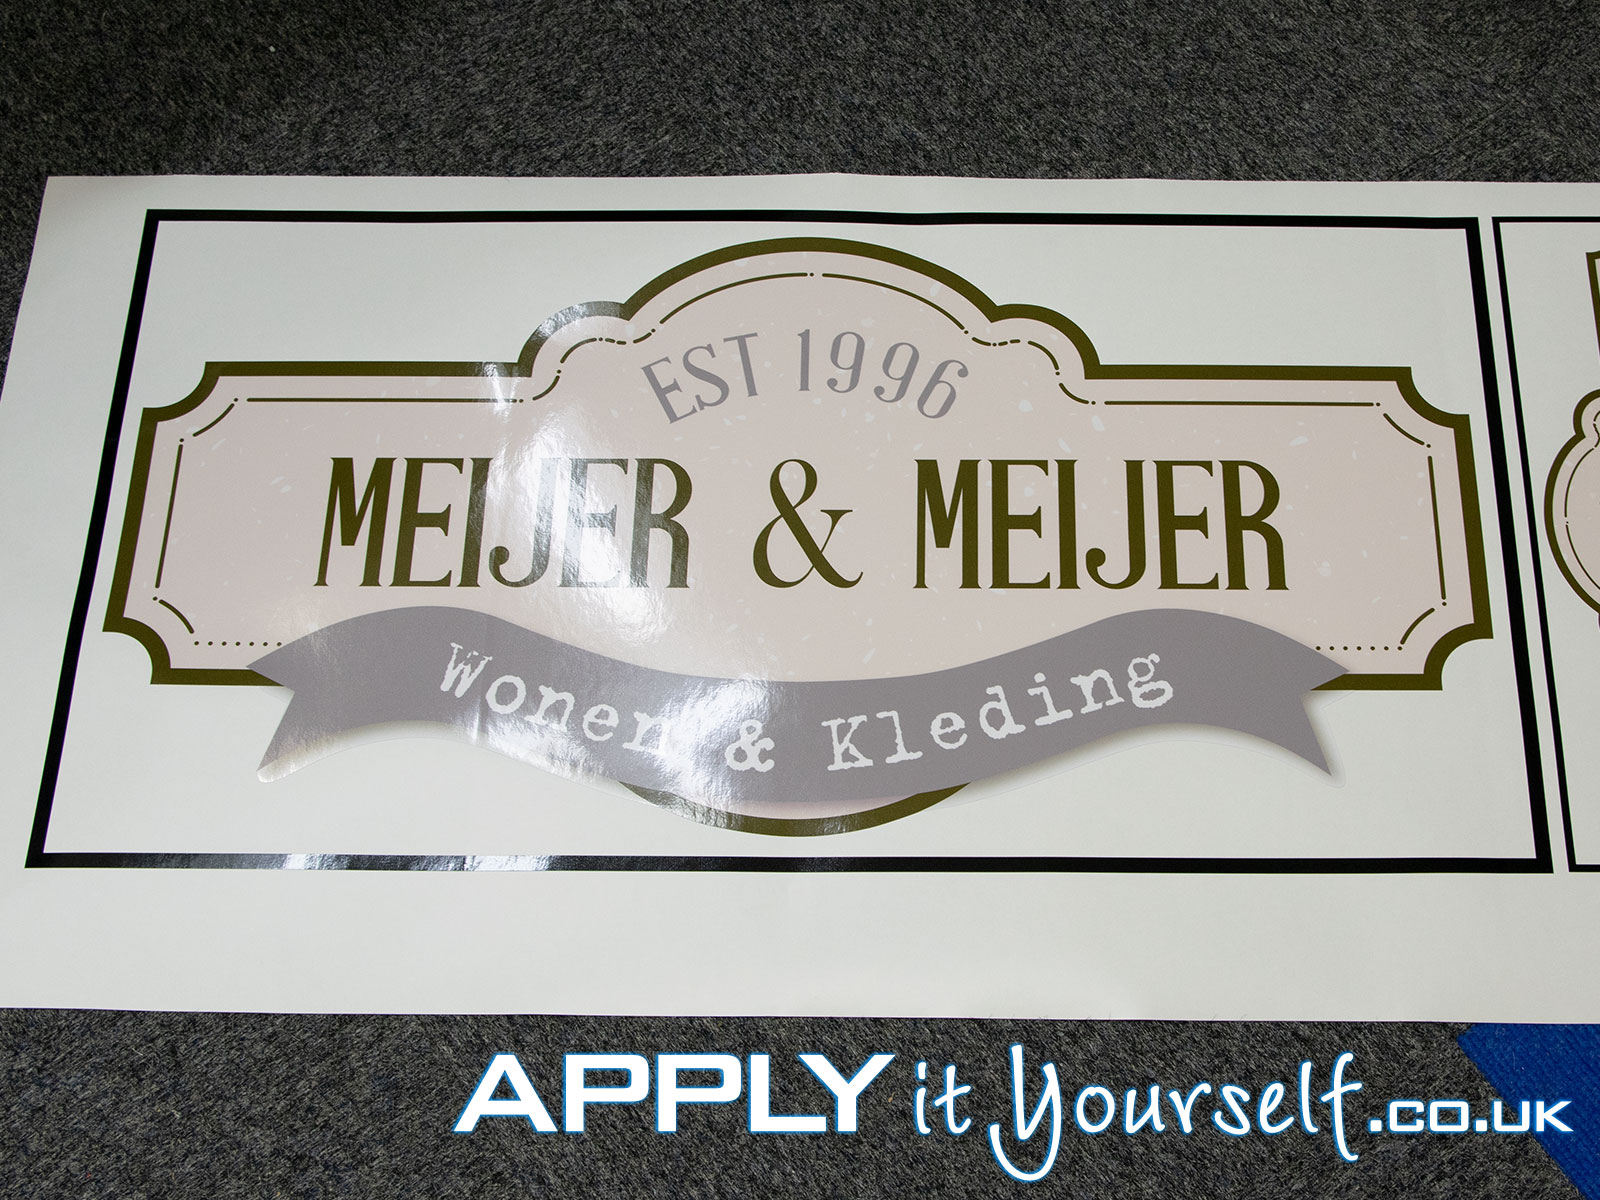
How to apply floor stickers?
This page will explain how you apply your custom floor sticker (floor graphic) to your floor. Your bespoke floor vinyls will arrive in a sturdy box (pre-assembled) with a hard plastic squeegee (free of charge). Ready for you to apply the floor sticker to your floor.
The floor film is to be applied dry, without water. The floor sticker is only suitable for short term application on flat and smooth surfaces/floors. Your floor sticker has a class R9 anti-slip certification. It is very important that the floor is very clean and dry before application!
Always, first read, our extensive general information first. You will find it HERE.
Below you find instructions on how to apply your custom floor sticker yourself.
- Always keep your floor graphic flat so that is does not bend/fold.
- Clean the floor thoroughly. Remove paint, grease and other dirt. Make sure the floor is VERY clean and dry before application of your bespoke floor sticker. This is extremely important!
- Also clean the surrounding area and your work environment. Also be wear of (flying) insects. Wind, dust and sand. Lock up your pets.
- Use the supplied hard red squeegee and card over the floor sticker to further increase the binding between the two. Use a flat surface, like a sturdy table.
- Remove the backing paper (the white paper with grey writing on it). Carefully. When the film contains cut-outs/elements, be very careful when removing the backing paper, as to not tear the floor vinyl itself, when parts of the film remain stuck to the backing paper.
- Apply your floor stickers with the application-tape/transfer-tape to the floor, position the floor film/sticker at the preferred location.
- Use your supplied free squeegee. Start in the middle/centre of the floor sticker and move horizontal with overlapping movements towards the edge of the design/floor graphic. During which you hold the film a couple centimetres (2 inches) above the surface/floor itself.
- Repeat the following process an number of times. Use your supplied free squeegee. Start in the middle/centre of the floor sticker and move horizontal with overlapping movements towards the edge of the design/floor graphic.
- (Applicable for floor stickers with transfer-tape/application-tape). Allow the adhesive enough time to stick to the floor. So that removing the application-tape/transfer-tape does not lift the floor vinyl/film from the mounting-surface. Remove the application-tape/transfer-tape after a couple of hours, 6 to 12 hours should be enough.
- Again, repeat the following process an number of times, before removing the transfer-tape/application-tape. Use your supplied free squeegee. Start in the middle/centre of the floor sticker and move horizontal with overlapping movements towards the edge of the design/floor graphic.
- Do not pull the application-tape/transfer-tape away from the floor. But pull the application-tape/transfer-tape along the floor (fold the application-tape 180 degrees onto itself).
- If, the first floor sticker with application-tape does not stick to the surface. You may have to remove the application-tape/transfer-tape before installation/application. In addition, extensively clean the floor again.
- If, when removing the application-tape/transfer-tape, you lift the floor sticker from the floor/mounting-surface. Wait 24 to 48 hours before removing the application-tape/transfer-tape.


